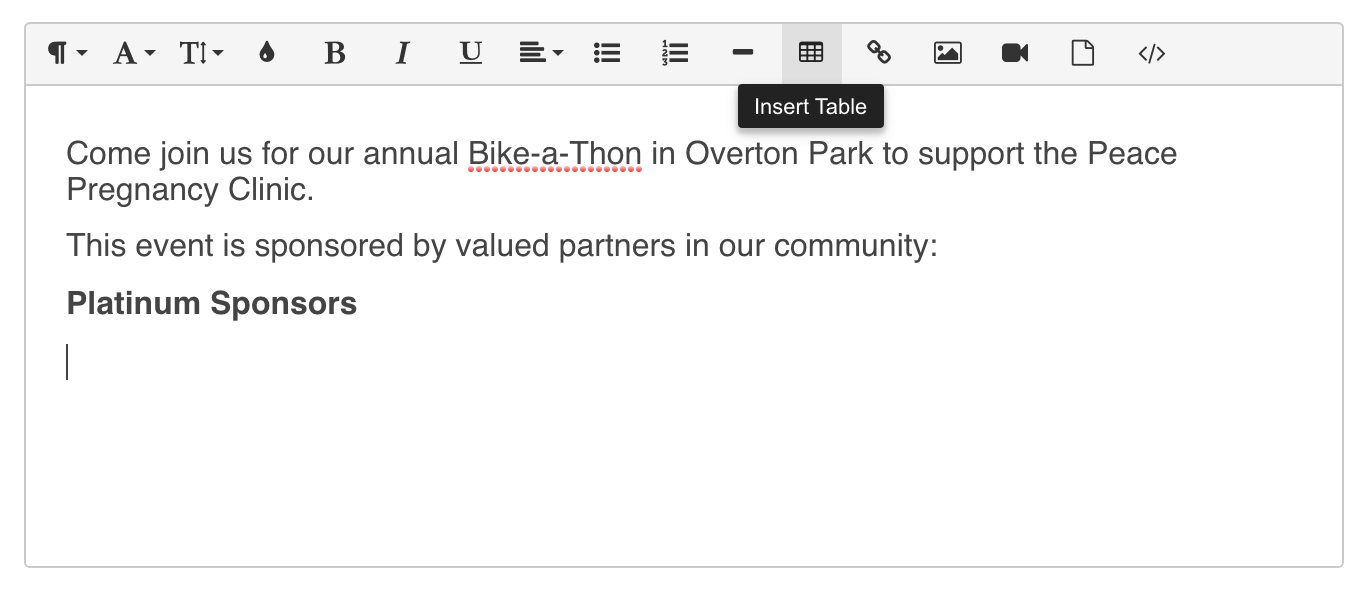
Tables can be helpful for adding text and images in rows and columns and aligning them evenly. To add a table, click in the text field where you'd like to add a table and then click the Insert Table icon in the toolbar above the text field.
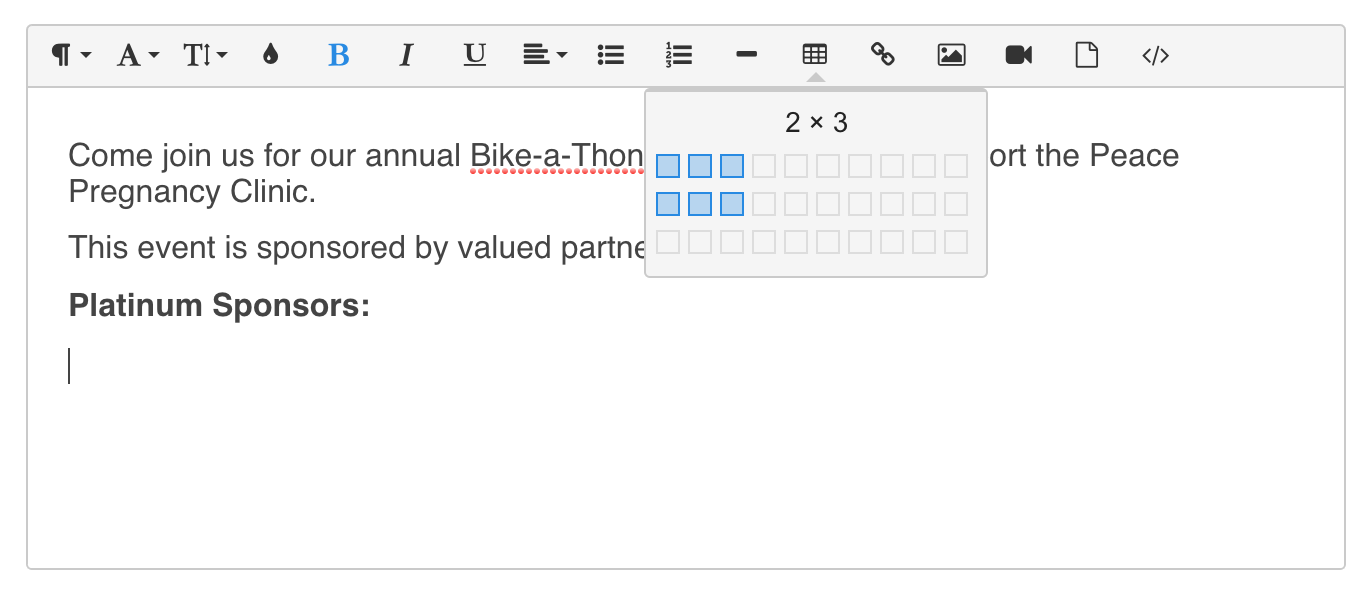
Choose the size of the table in the popup box by highlighting how many rows and columns you need and clicking to add the table.
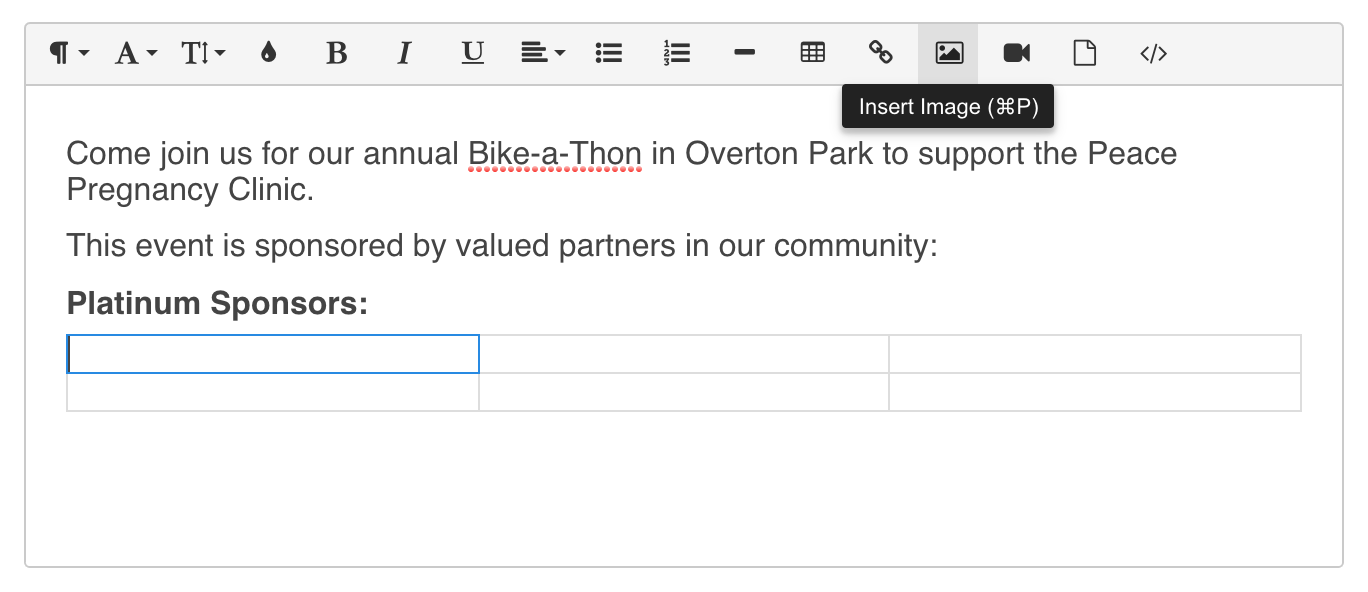
To insert an image in the table, click into a table cell and click the Insert Image icon in the toolbar above the text field.

Once a table has been added, clicking into a table cell will show the table menu popup, which contains the following tools:
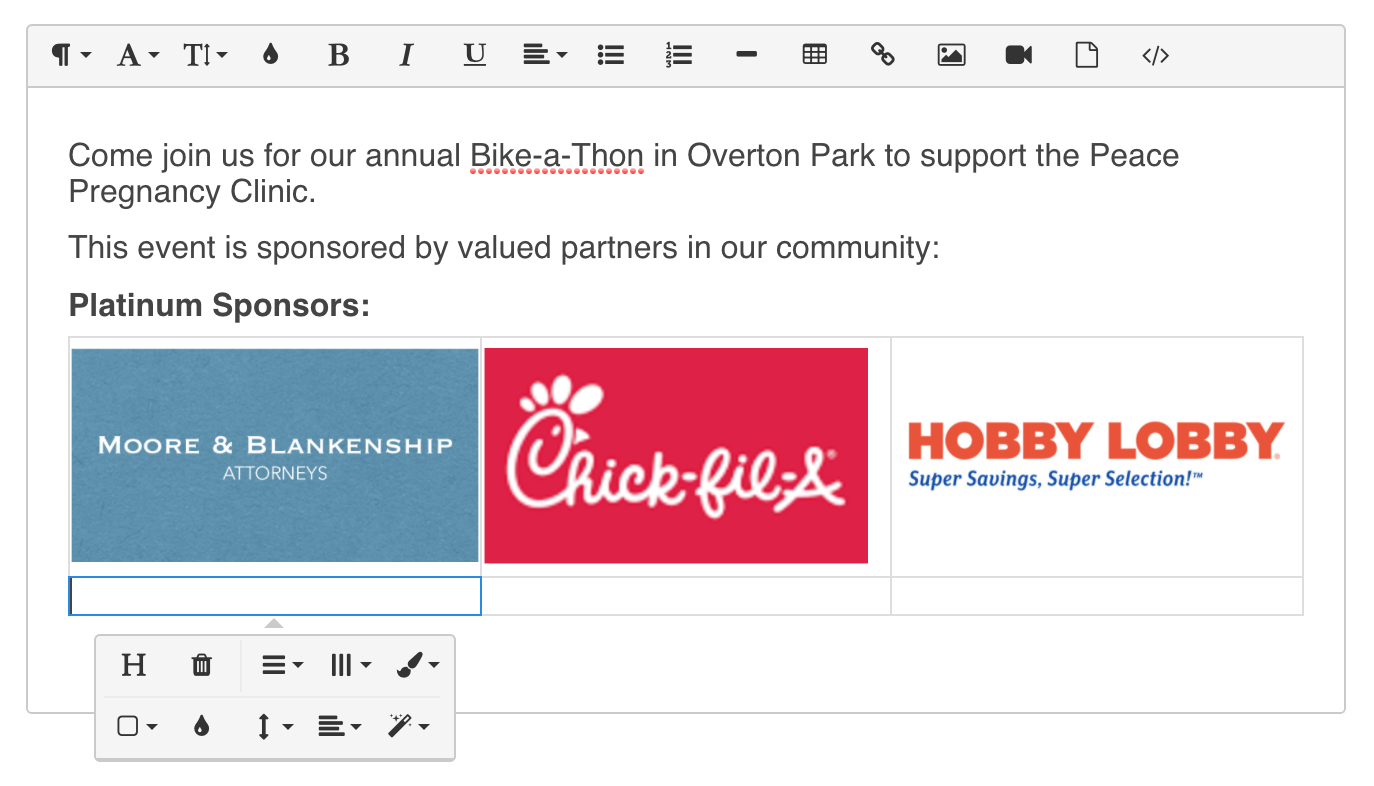
Table Header (H icon) - creates a gray/shaded table row at the top of the table
Remove Table (trashcan icon) - deletes the whole table and its contents
Row (horizontal line icon) - shows options to
insert a new row above the current row
insert a new row below the current row
delete the current row
Column (vertical line icon) - shows options to
insert a new column before the current column
insert a new column after the current column
delete the current column
Table Style (paintbrush icon) - shows options to
make the table have dashed borders
make alternate rows gray/shaded
Cell (square icon) - shows options to
merge multiple cells into one cell
split a cell vertically into two cells
split a cell horizontally into two cells
Cell Background (droplet icon) - pulls up a color-picker to choose the cell's background color
Vertical Align (vertical arrows icon) - shows options to
vertically align the cell's contents to the top of the cell
vertically align the cell's contents to the middle of the cell
vertically align the cell's contents to the bottom of the cell
Horizontal Align - shows options to
horizontally align the cell's contents to the left of the cell
horizontally align the cell's contents to the center of the cell
horizontally align the cell's contents to the right of the cell
justify the cell's contents so that the edges of text lines are lined up evenly
Cell Style (magic wand icon) - shows options to
highlight the cell by putting a red border around the cell
thicken the border around the cell (whether it's highlighted red or not)