Crowdfunding Custom One-time Giving Campaigns
Crowdfunding campaigns offer one Event Web Page with a Give button and one donation page. This is an overview on setting up your Crowdfunding campaign.
First, you'll need to create an account with our payment processor, Stripe, and connect it to your FundEasy account. You can find instructions on how to do that here. Once done, you can continue with the below Crowdfunding Campaign setup steps.
When logged into FundEasy, click the My Events dropdown in the top left corner and click the green Add New Event button.
On the Choose a Product page, click the Get Started button for the Crowdfunding product.
On the Create an Online Giving Campaign page, complete all the required information.
Campaign information
Give your campaign a name
Set your campaign goal. This goal will show on your Campaign Web Page and on the Dashboard of your campaign (Note: This is a required field. The goal section cannot be removed from your Campaign Web Page.)
If you have offline donations that have been given via another route (cash, check, etc.) and you'd like to count those into your campaign's total raised amount, you can enter that total in the Starting Balance field. This article has more information.
Set your campaign date. This is the date that your campaign will end.
Select the timezone for your location.
If you'd like to begin raising funds as soon as the campaign is set up and open to the public, choose the default "Immediately" option for the Fundraising Start Date. Or, if you'd like the campaign to start on a specific date, select the "On" option for the Fundraising Start Date and choose a date and time.
Add a Campaign Description. This description will show on your Campaign Web Page and on your Invitation Email.
Campaign Twitter Hashtag. The Twitter Hashtag searches for any time your hashtag is used on Twitter and will put that feed on your Event Web Page. Make sure that you check Twitter to see if anyone is already using that hashtag before adding a hashtag.
Enter a link to redirect your campaign URL to a different link after your campaign ends.
Add the contact information for this Campaign. This will show in your templates if someone needs assistance.
Organization Information
Public Organization Information - add a description of your organization which will appear on your Event Website and your participants' pages.
Organization Federal Tax ID - We'll add this to your sponsor receipts, and let donors know their gift is tax deductible on your Crowdfunding donation page.
Review/edit the legal Statement on Tax Receipts that are sent automatically to online donors.
Campaign Banner
You can choose from our pre-designed banners or upload your own.
Campaign Banners appear on the top of your templates: Recommended image size: 2056px wide and 514px tall. Supported file types: JPEG, PNG, or GIF
Facebook Campaign banners are used when you share your event on Facebook and on mobile devices. If you use one of our preset banners, a coorresponding Facebook banner will already be in place. If you choose to upload a customer banner, the recommended image size: 940px wide and 492px tall. Supported file types: JPEG, PNG, or GIF.
Your Web Page Accent Colors
Select an accent color that best matches your banner.
Donation Form Options
Choose your fundmeter to be displayed on your campaign web page (donors will not see the fundmeter if accessing the widget through an embedded view or in the kiosk mode). If you have chosen a delayed start day and time, the fundmeter and the give button will be replaced by the countdown clock. Once your delayed start day and time is reached, your thermometer and give button will appear. Note: the fundmeter does not start to fill until you have raised 1% of your goal.
Payment Processor
Choose your Stripe account. A FundEasy Stripe account must be created prior to creating your Crowdfunding campaign.
Donation Tax Receipt Email
Donors will receive a receipt. You can add a note to the receipt here.
Once you have completed the Campaign Details, you'll be prompted to set up the Donation Widget. Note: All Crowdfunding campaigns now utilize the widget settings. By default, publishing the widget adds a Give button to your main campaign web page. In addition, you use the widget kiosk mode, embed a widget button or enable the full size widget on your own webpage.
In the Donation Widget settings, complete all the required information.Basic Info
Enter the name of your campaign when the widget is used.
Write an abbreviated campaign description that shows when the widget is used.
Select a banner image (optional). This is how the widget looks with and without a banner:
Choose a complimentary widget color to match your banner.
Change the wording on the Give button. You can use Give, Donate, or you can add something else (10 character limit).
Choose when the widget expires. This can be after the campaign itself closes so that donors can continue to give even after the campaign has ended.
Donation Settings
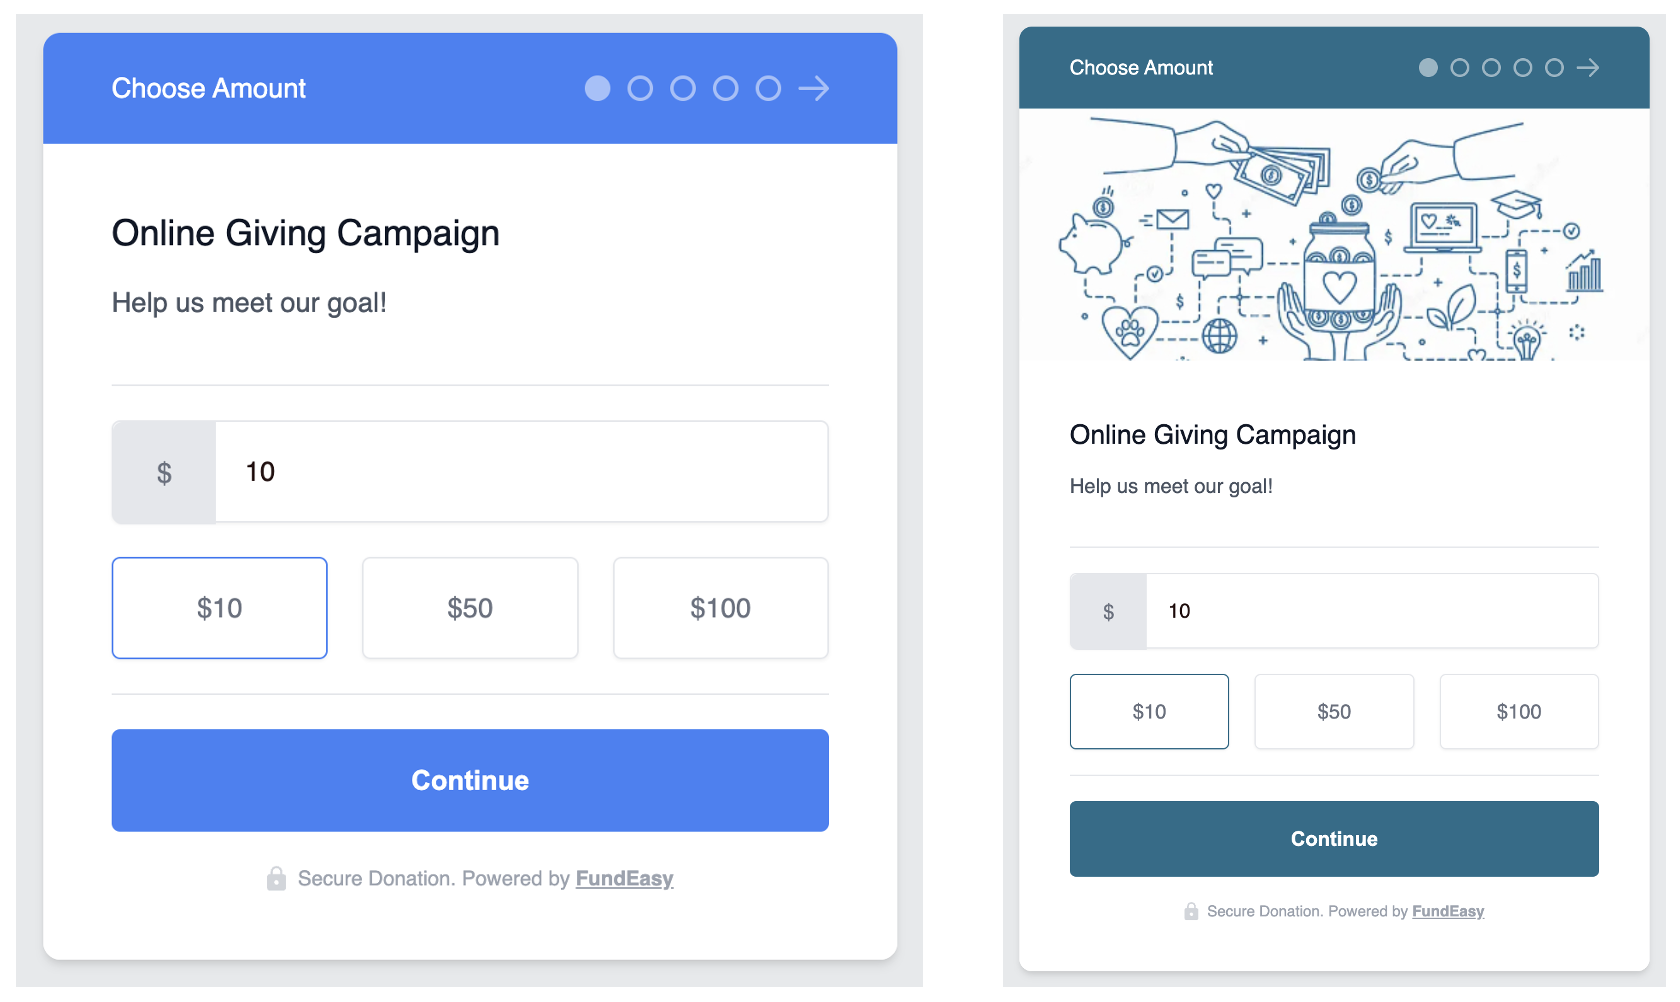
Suggested Donation Amounts - we've provided default amounts that will show on your donation form, but you can edit the amounts or add more options.
Select whether or not donors can enter a custom amount.
Select whether donors will be given the option to cover the processing fee (2.9% + $0.30 per transaction). Please note that Stripe's fees for American Express may vary from our advertised fee structure. To verify this rate or to request to disallow American Express in your account, please contact Stripe. Rates that deviate from our advertised fee structure will result in reporting discrepancies.
Set a minimum donation amount.
Donor Details
The name and email address are required fields when making a donation. You can also require phone number and mailing address.
Payment Processor
Select the account that will process online payments for the campaign.

Once you've entered your Campaign Details and set up the Donation Widget, you're good to go! To share the campaign, use the Promote Campaign button in the lower left hand corner, or the Use Widget button at the bottom of the Donation Widget panel.