Connecting Stripe with FundEasy only takes FIVE easy steps and can be completed in about 15 minutes!
Please preview the five steps before you begin:
Step #1 - Enable Stripe as a Merchant in FundEasy (approx. 1 minute)
Step #2 - Onboard with Stripe to create an account OR connect an existing one (approx. 10 minutes)
Step #3 - Connect your Stripe account ID with FundEasy (approx. 2 minutes)
Step #4 - Apply for Stripe's nonprofit discount (approx. 2 minutes)
Step #5 - Review your account and select Stripe as the payment processor for your event/campaign (approx. 2 minutes)
You must initiate your Stripe account from within FundEasy in order for it to be eligible to use in FundEasy events. You cannot use a pre-existing Stripe account ID (although you may connect to an existing Stripe user account in Step #2).
Enable Stripe as a Merchant within your FundEasy account
Onboard with Stripe to either create a new account or to link to an existing Stripe account
Connect your Stripe account ID with FundEasy
Apply for Stripe's nonprofit discount to get the lowest rate available for processing fees
Review your account and select Stripe as the payment processor for your event/campaign
It's important to complete all of these steps in order for the connection to work properly. The guide below will walk you through each step with important tips and notes. Please read carefully to ensure the best experience for your donors!
PLEASE NOTE: If you have an ongoing event that has previously processed transactions with WePay, please export your WePay Transactions report in the Reports & Exports tab before enabling Stripe. Once Stripe is enabled, you will only have access to WePay reporting through your Wepay.com login.
Step #1 - Enable Stripe as a Merchant in FundEasy (approx. 1 minute)
You'll need to enable Stripe as a Merchant in FundEasy so it can be used for payment processing in your events/campaigns.
Please note that only Admins who "Can Receive Invoices" have the permissions to add a new merchant account in FundEasy. To check who has this permission level, click on the Account Users page from the account dropdown in the upper right hand corner of your FundEasy account and look for the indicator circled below.

To enable Stripe as a Merchant in your FundEasy account use this 30-second video as a guide or follow the screenshots below.
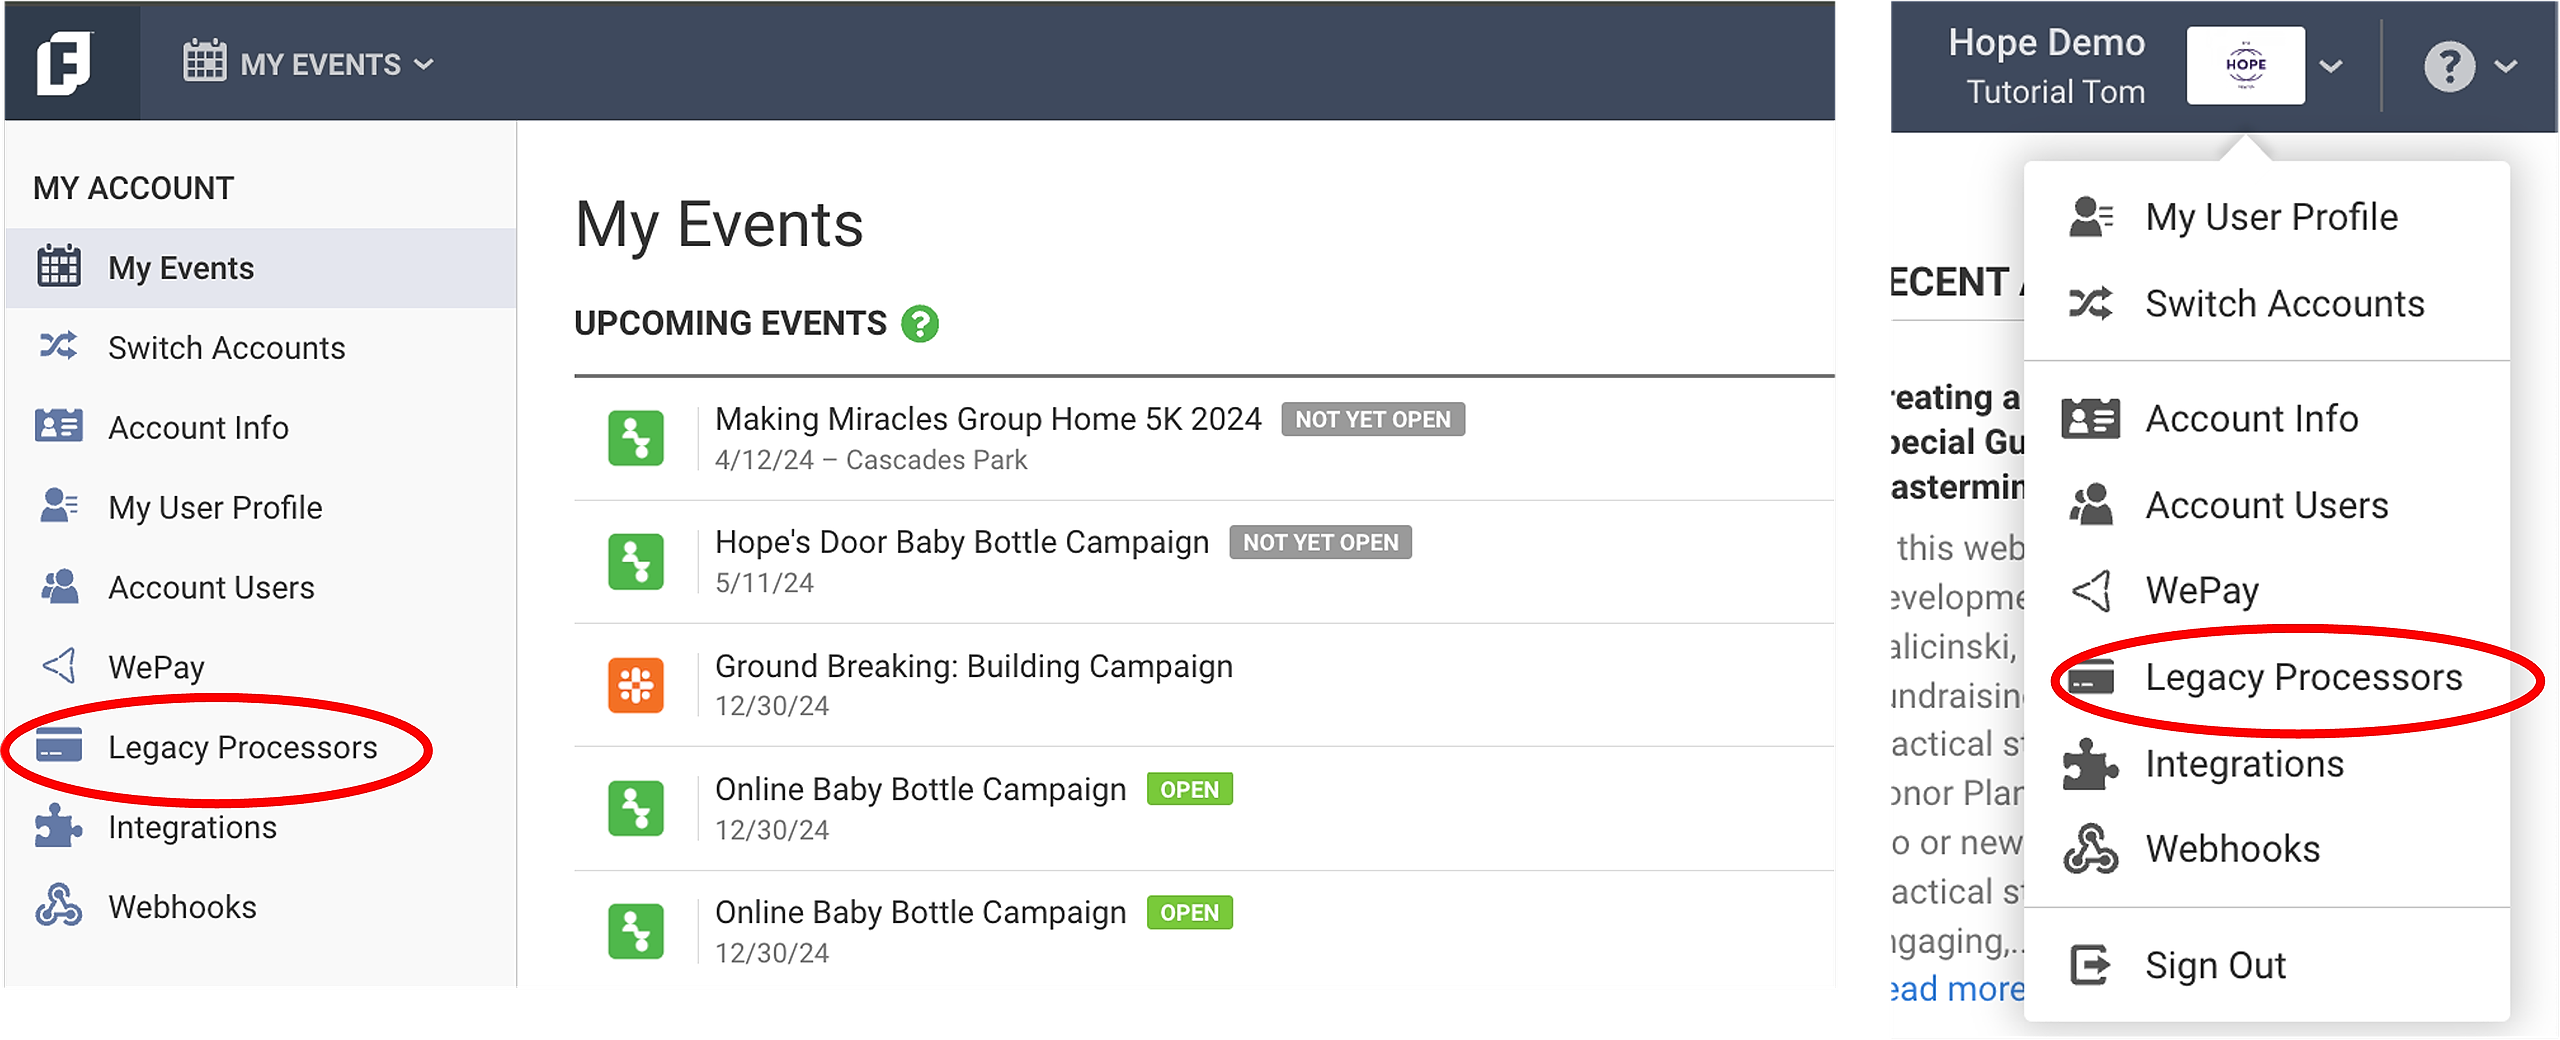
Click Legacy Processors from the left toolbar on the home page, or from the account dropdown in the upper right hand corner.
If you have used WePay in the past, you'll see your WePay accounts here. To add Stripe, click on the list of payment icons in the upper right hand corner.

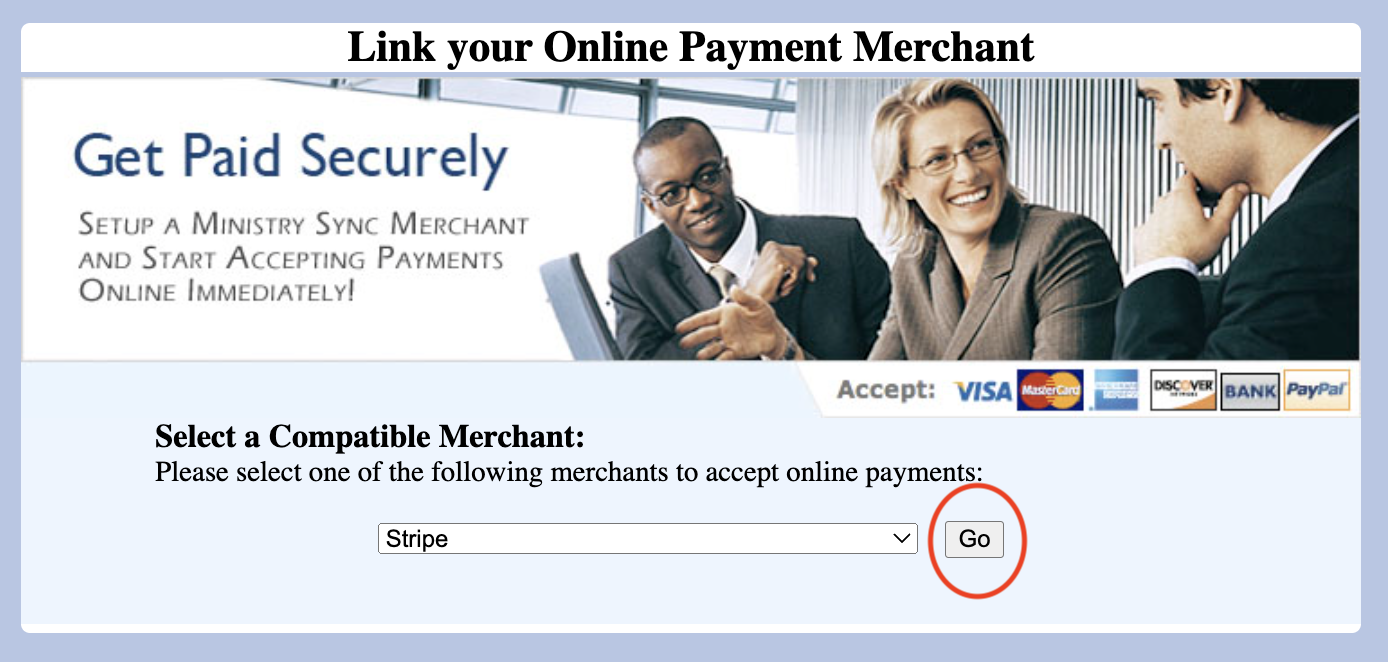
Stripe will be selected by default. Just click Go!
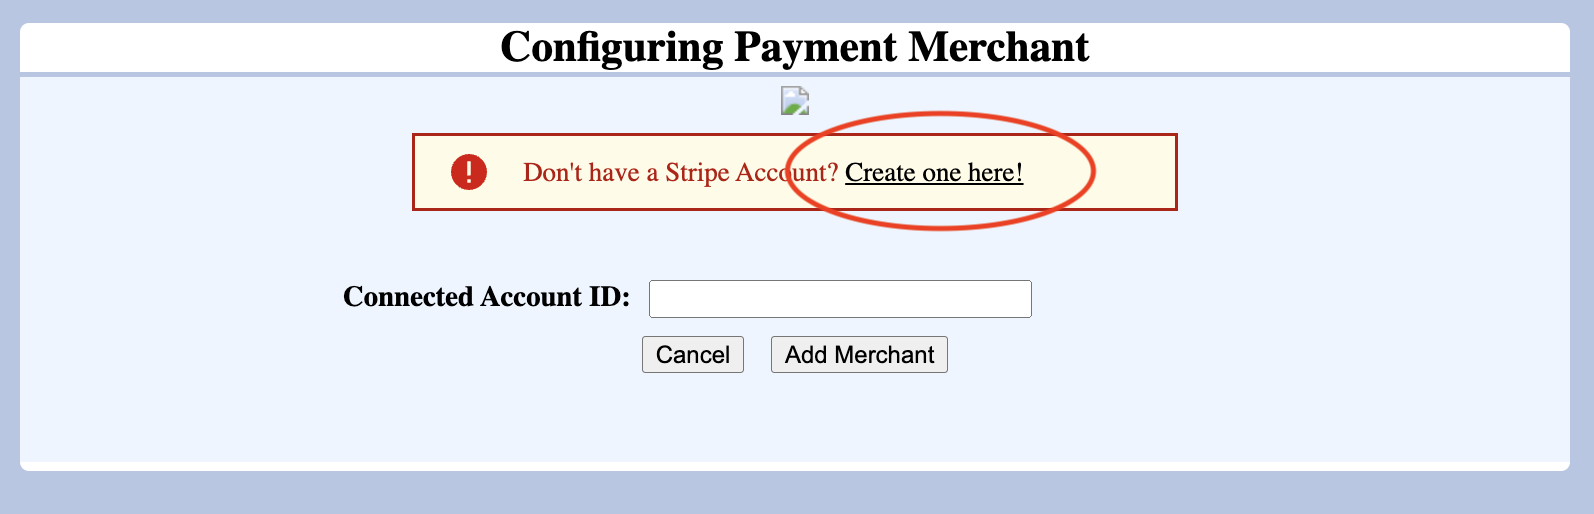
Click on the link circled below to begin the onboarding process in a new tab. You must click "Create One Here" even if you have an existing Stripe account. You'll be able to link to your existing Stripe account in the following steps.
Step #2 - Onboard with Stripe to create an account OR connect an existing one (approx. 10 minutes)
In the new tab that opened, you'll have the opportunity to either create a new account or connect with an existing account.
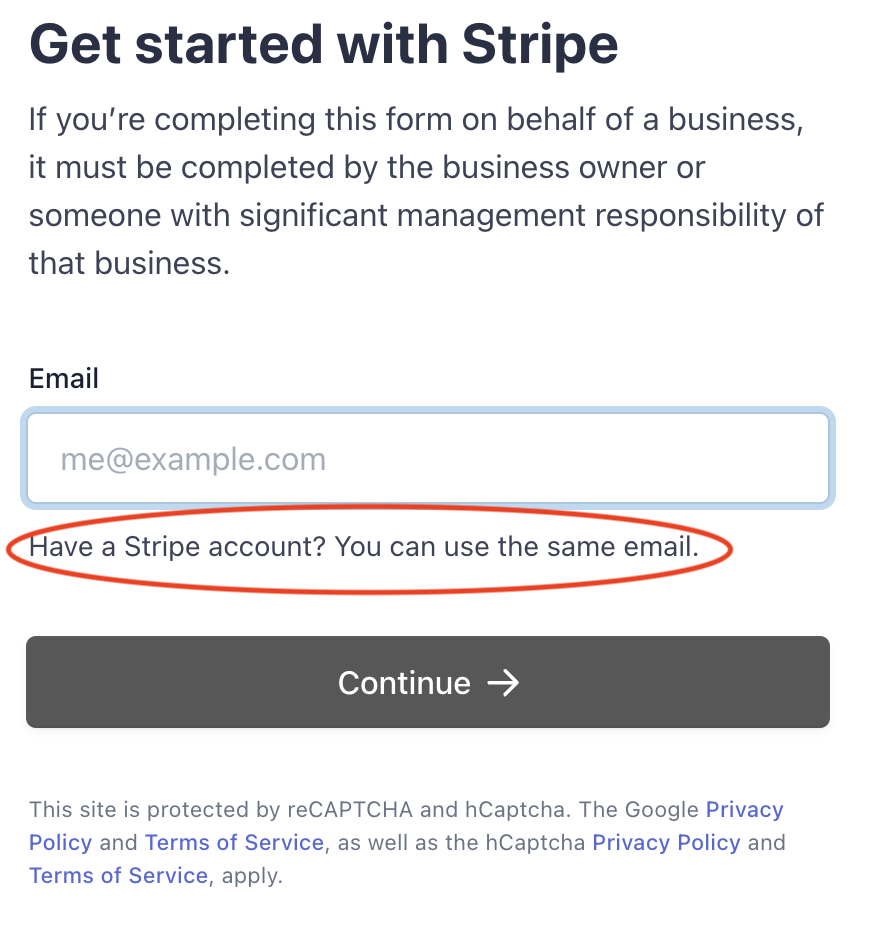
To connect to an existing Stripe account:
Enter the email associated with your existing account. If you have an existing account, but don't remember the password, you'll have the option to reset your password on the login screen.
Click Log In and follow the prompts to create a new payment account for your FundEasy event
Once complete, skip to Step #3 (Connect your Stripe account ID with FundEasy) below
To create a brand new Stripe account, follow the steps below or for a more visual walkthrough of each step of the Stripe onboarding process, click here:
1. Create a login for your account
Enter the email address you'd like to use for your Stripe login
Enter a password (at least 10 characters long)
Click Continue
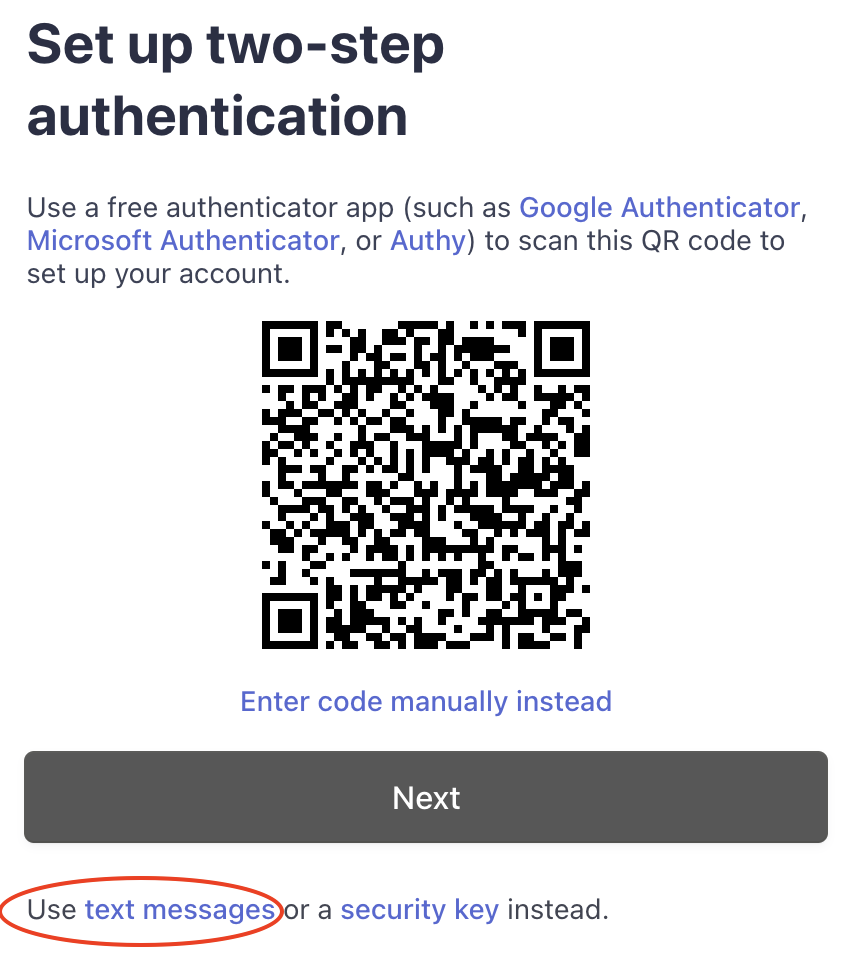
Set up two-step authentication OR receive a verification code via text by clicking "use text messages" under the Next button.
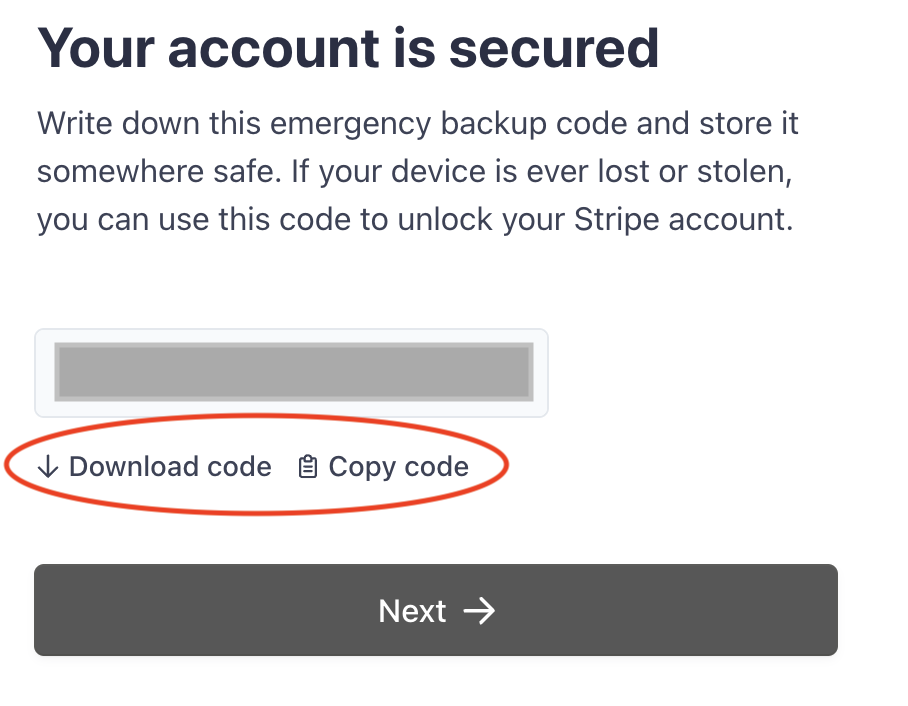
Download or copy/save your emergency backup code so you can access it later if necessary
2. Enter information about your nonprofit
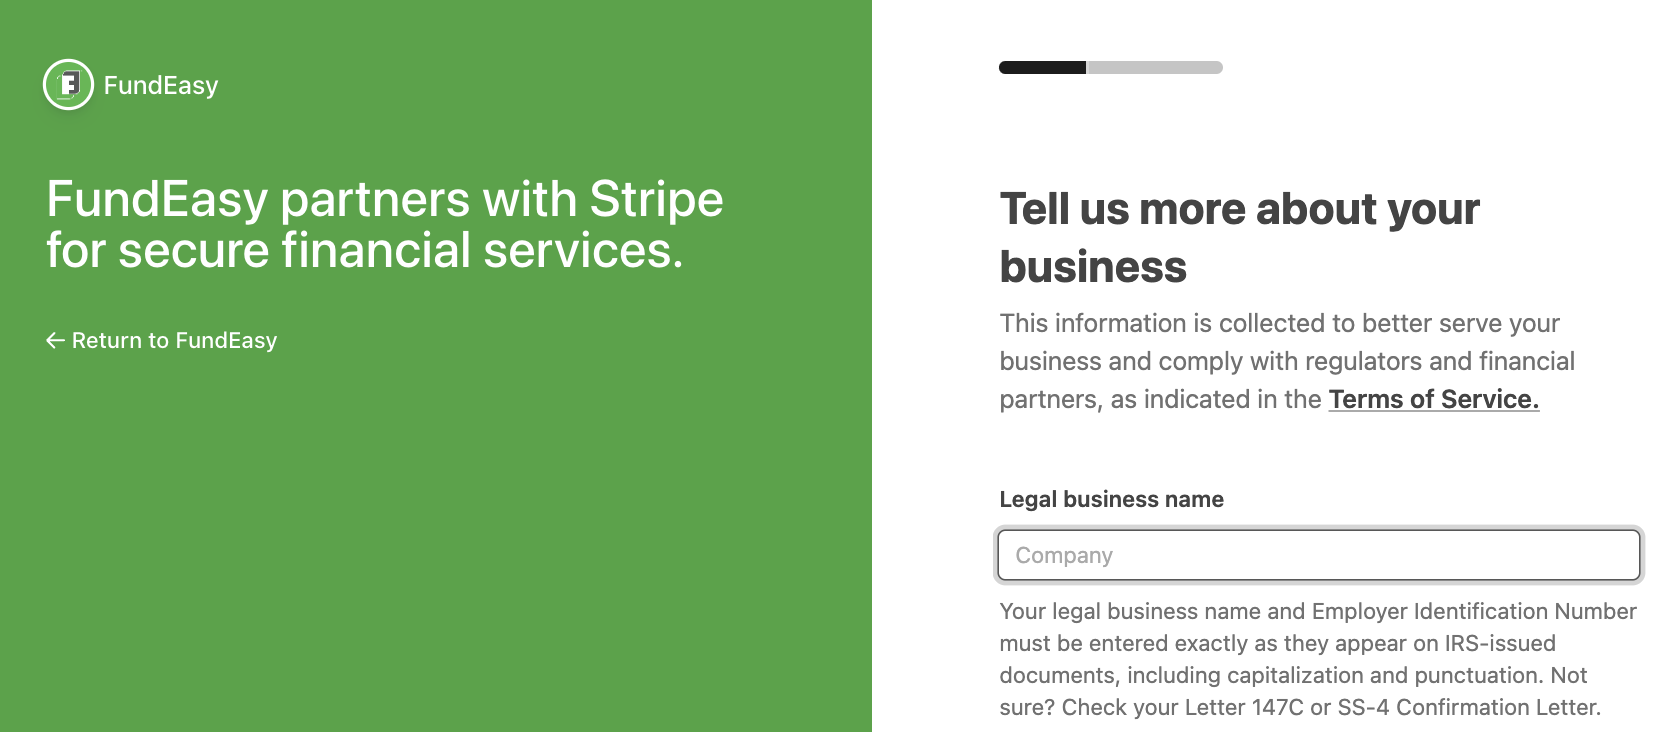
Stripe serves various types of businesses and organizations. Please be ready to provide the following information about your nonprofit:
1. Location and type of business. Be sure to select "nonprofit organization" from the dropdown to enable the correct settings.
2. Legal business name and business name (if different from the legal name)
3. Employee Identification Number (EIN)
4. Registered business address and phone number. Please note: Your address must be a valid physical address and cannot be a P.O. Box. This address is not shared publicly and can be your personal address. You may use a P.O. Box as your customer support/contact address later in the process.
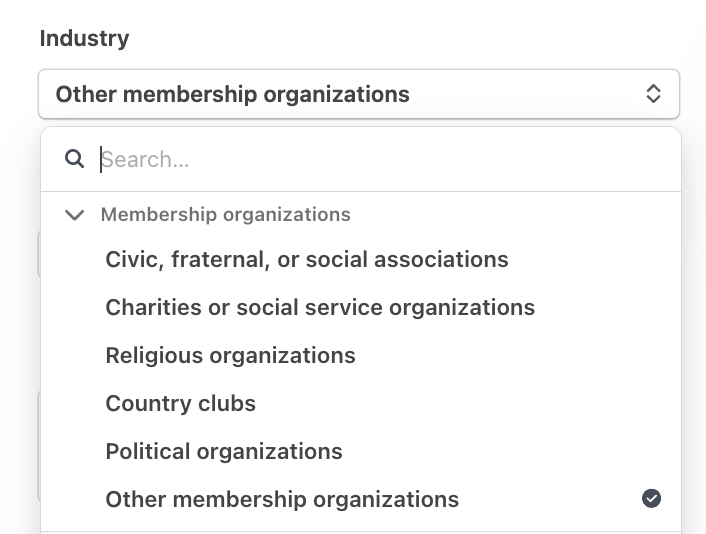
5. Industry. Tip: many FundEasy customers will fall under the "Membership Organizations" category.
6. Organization website
7. Brief description of how you plan to use Stripe with FundEasy
3. Enter Information about the Business Representative for Your Nonprofit (Know Your Customer)
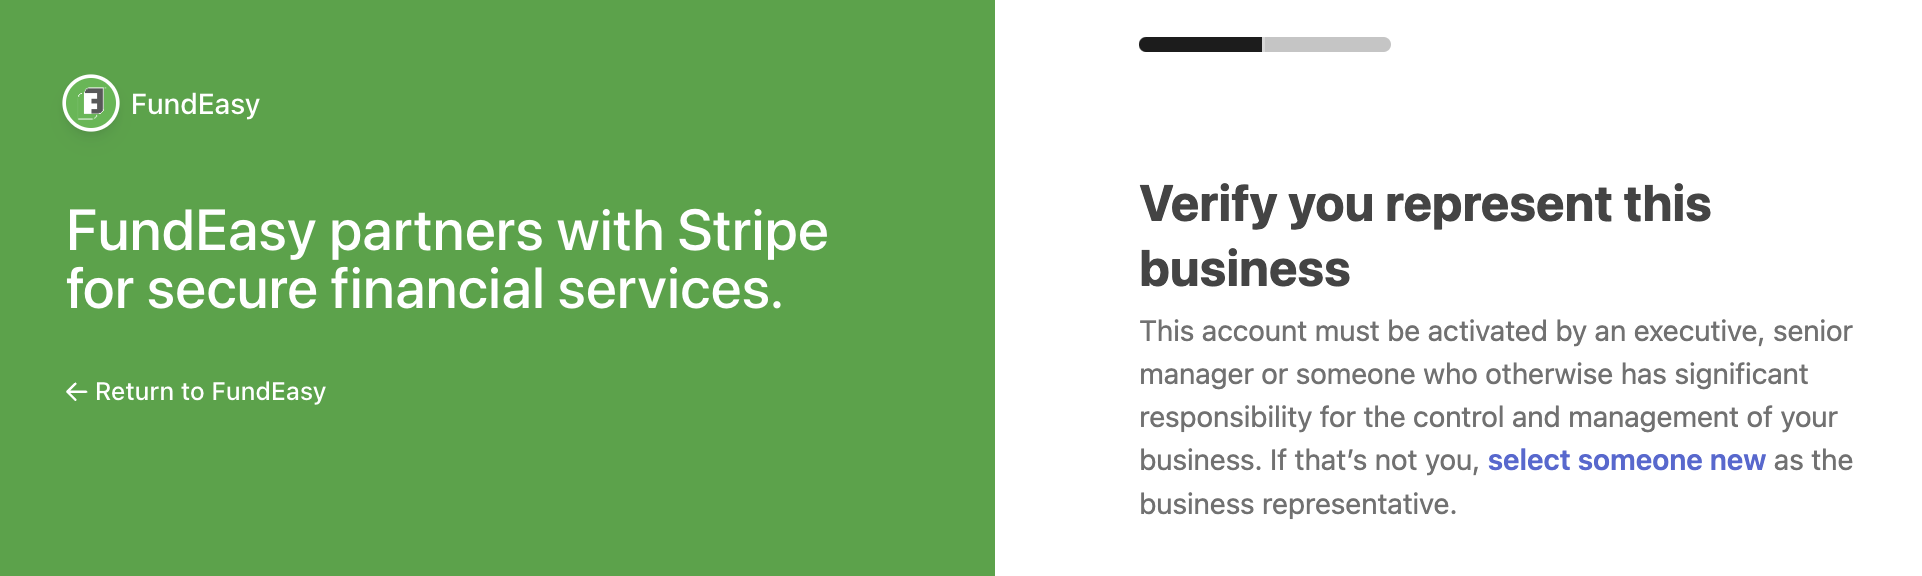
"Know Your Customer" (KYC) obligations require Stripe to verify that account holders are operating from the organization addresses they provide in their account application.
See Stripe's verification documentation for more information on documents for identity and home address verification, tax ID verification troubleshooting, beneficial ownership definitions and more.
During the signup process, you'll need the following information about the business representative for your organization (such as the manager or someone who has significant responsibility for the control and management of your organization):
1. Legal name, email, job title, and date of birth
2. Home address and phone number
3. Last four digits of the social security number (or a government-issued ID number)
4. Enter Financial Information

In this final step, you'll enter information about where Stripe will send payouts to your organization and how you'd like transaction information to show on your donors' financial statements. Please be ready to enter the following:
1. Bank account where you'll receive funds (including routing number and bank account number). You have the ability to manage your Payout Method and your Payout Frequency after you complete the signup process.
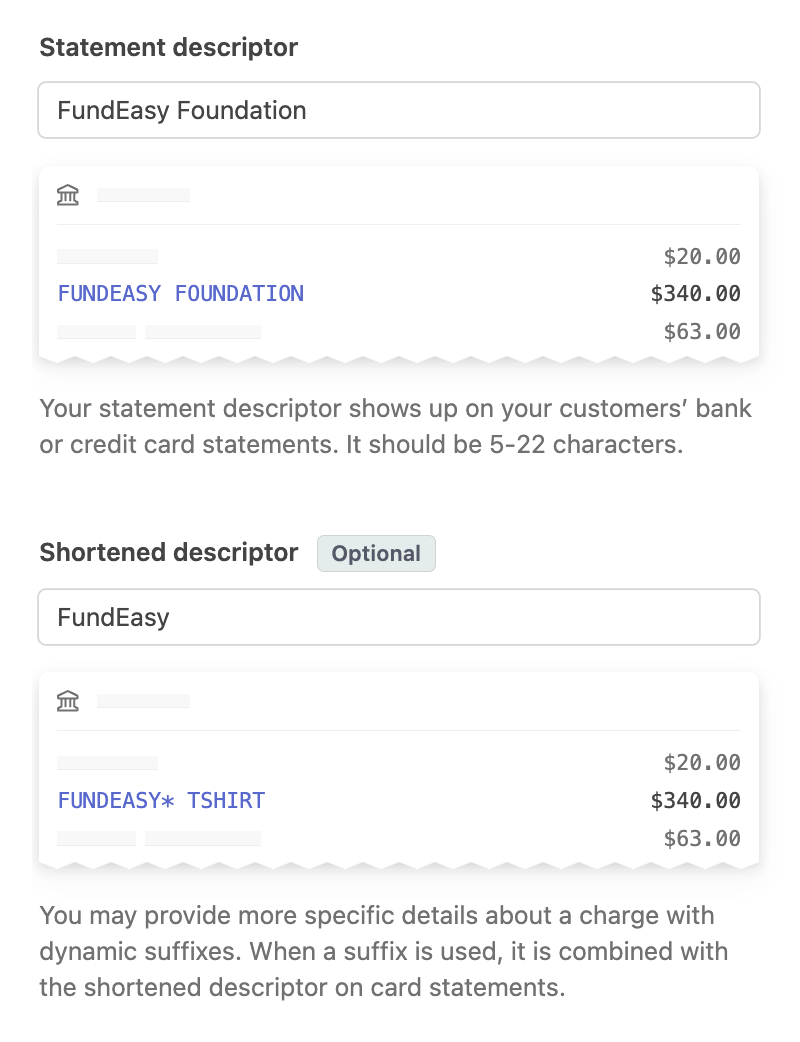
2. Statement descriptor and a shortened version (this is what will appear on donors' financial statements)
3. Contact information for your donors if they have questions about a charge on their account (including a phone number and address)
4. Decision to opt in or out of the Stripe Climate Contribution (click here for more info)
5. Review and Submit
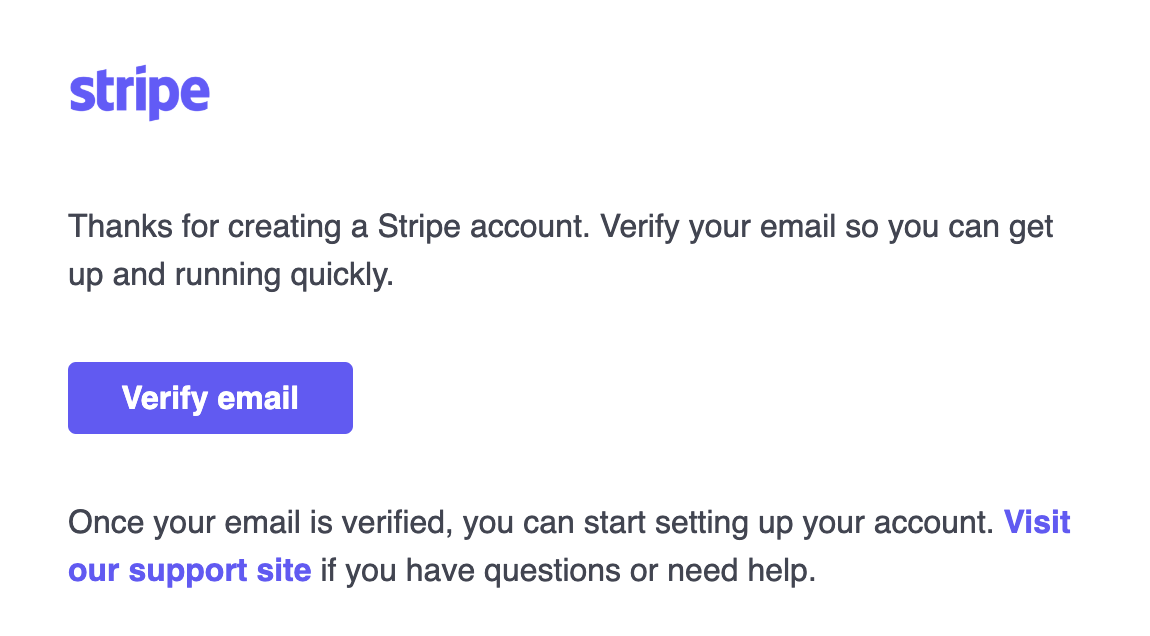
6. Verify your email. You’ll receive an email immediately after signing up with a link to verify your email address. This will allow you to log into Stripe to get your account number for the next step.
You now have an account with Stripe! Once submitting your Stripe onboarding, you should see a page with your FundEasy-connected Stripe account ID (example below):
Copy this account ID to paste on the Configuring page (instructions below). You must include the "acct_" prefix when entering your account ID.

Step #3 - Connect your Stripe account ID with FundEasy (approx. 2 minutes)
After completing the steps above, whether you linked to an existing account or created a new one, you can now enter your Stripe account ID into FundEasy where you left off. If you need to get back to this page, retrace the first few steps in Step #1 above.

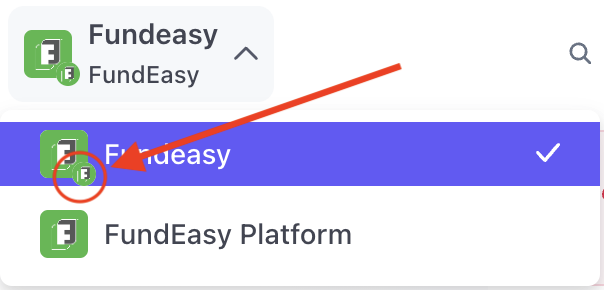
To get your Stripe account ID (not to be confused with your Stripe username), log into your Stripe account from Stripe.com and be sure you're viewing the correct account. If you have multiple Stripe accounts, you can toggle between them from the dropdown in the upper left hand corner. Accounts eligible to be connected with FundEasy will have the little FundEasy logo in the corner as seen below.
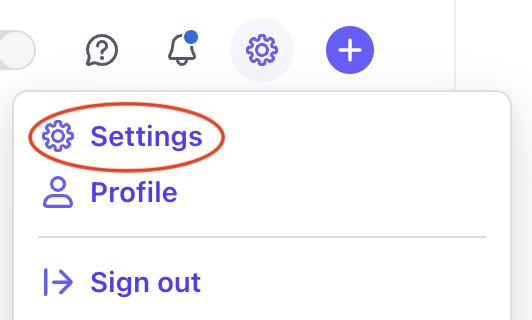
Once you've selected the appropriate account from the dropdown, click on the gear in the upper right hand corner and then click Settings.
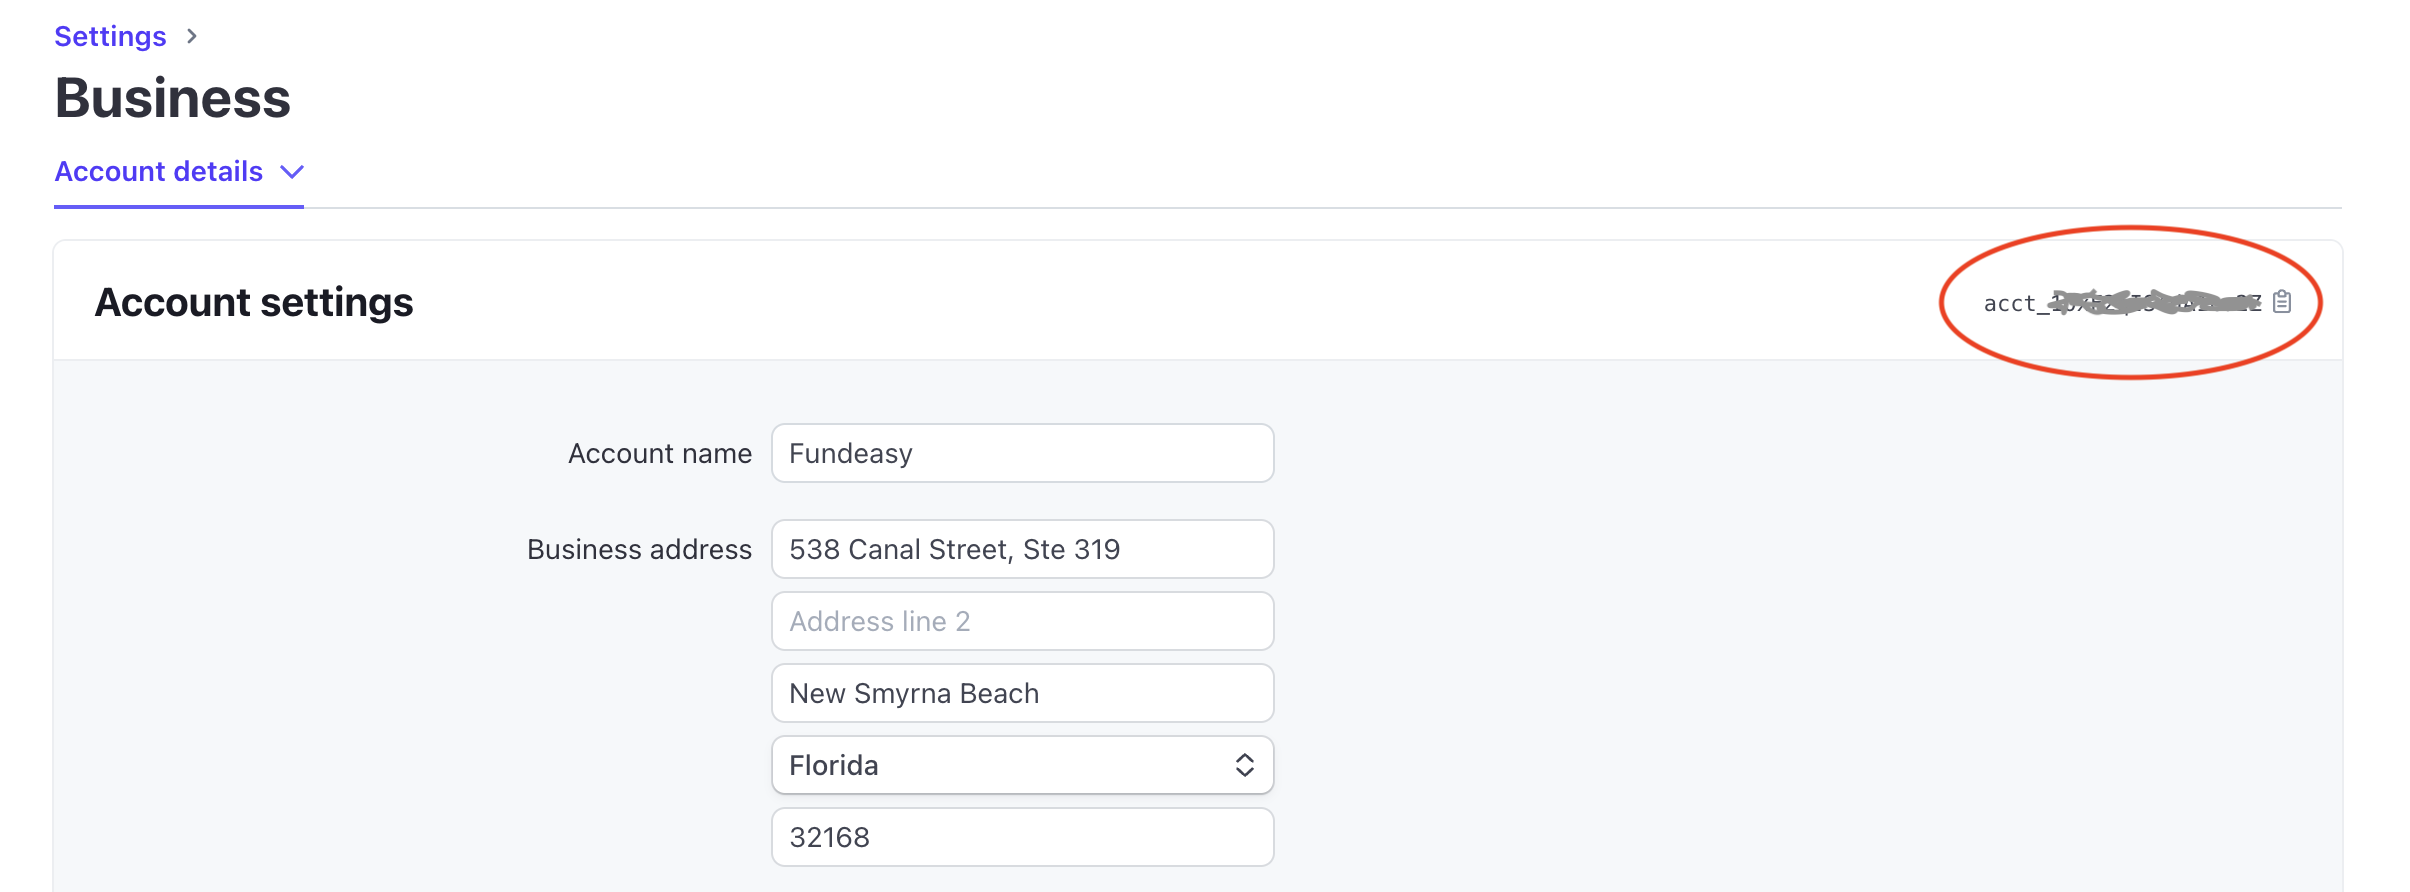
On the Settings page, click Business

On the Business page, copy the account ID exactly as it appears on the right. You must include the "acct_" prefix or the ID will be invalid and will not work. Tip: click on the clipboard icon to the right of the account ID to copy the ID so it can be pasted in the next step.
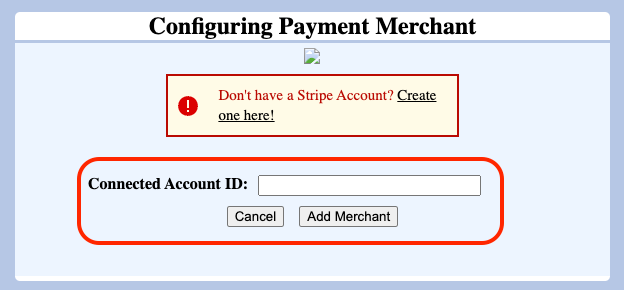
Back in FundEasy, enter your Stripe Account number into the Connected Account ID box in the Configure Payment Merchant form in the Legacy Processors menu, then click “Add Merchant”. Be careful to enter the correct ID. You must include the "acct_" prefix when entering your account ID or the ID will be invalid and will not work.
Your Stripe account is now connected to FundEasy! Please complete the last two steps below in order to process payments.
Step #4 - Apply for Stripe's nonprofit discount (approx. 2 minutes)
The default Stripe processing fee is 3.6% + $0.30 per transaction. However, Stripe offers a nonprofit rate! Applying for the nonprofit rate is as simple as sending a short email (template provided) and will reduce your fees to 2.9% + $0.30 per transaction. You must apply to Stripe directly to receive this rate. Payments processed before this application is approved will incur the default processing fees. Please click here for instructions to apply, including a pre-made email template.
Please note that Stripe's fees for American Express may vary from our advertised fee structure. To verify this rate or to request to disallow American Express in your account, please contact Stripe. Rates that deviate from our advertised fee structure will result in reporting discrepancies.
Step #5 - Review your account and select Stripe as the payment processor for your event/campaign (approx. 2 minutes)
Having completed the steps above, you'll want to check to make sure that your Stripe account is verified before you choose it as the payment processor in your event/campaign. Selecting a non-verified/Restricted account will result in errors for people making payments.
To make sure that your Stripe account has been verified please log into your Stripe account at Stripe.com and check to make sure you don't have any messages at the top of your dashboard. Messages will appear here if additional information is needed for Stripe to verify your account. If your account is not verified, donors will not be able to submit payments.
An example of a message on a Restricted account is shown below:

If the top of your Stripe account dashboard is clear, your account should be verified. When in doubt, you may contact Stripe or FundEasy Support to verify.
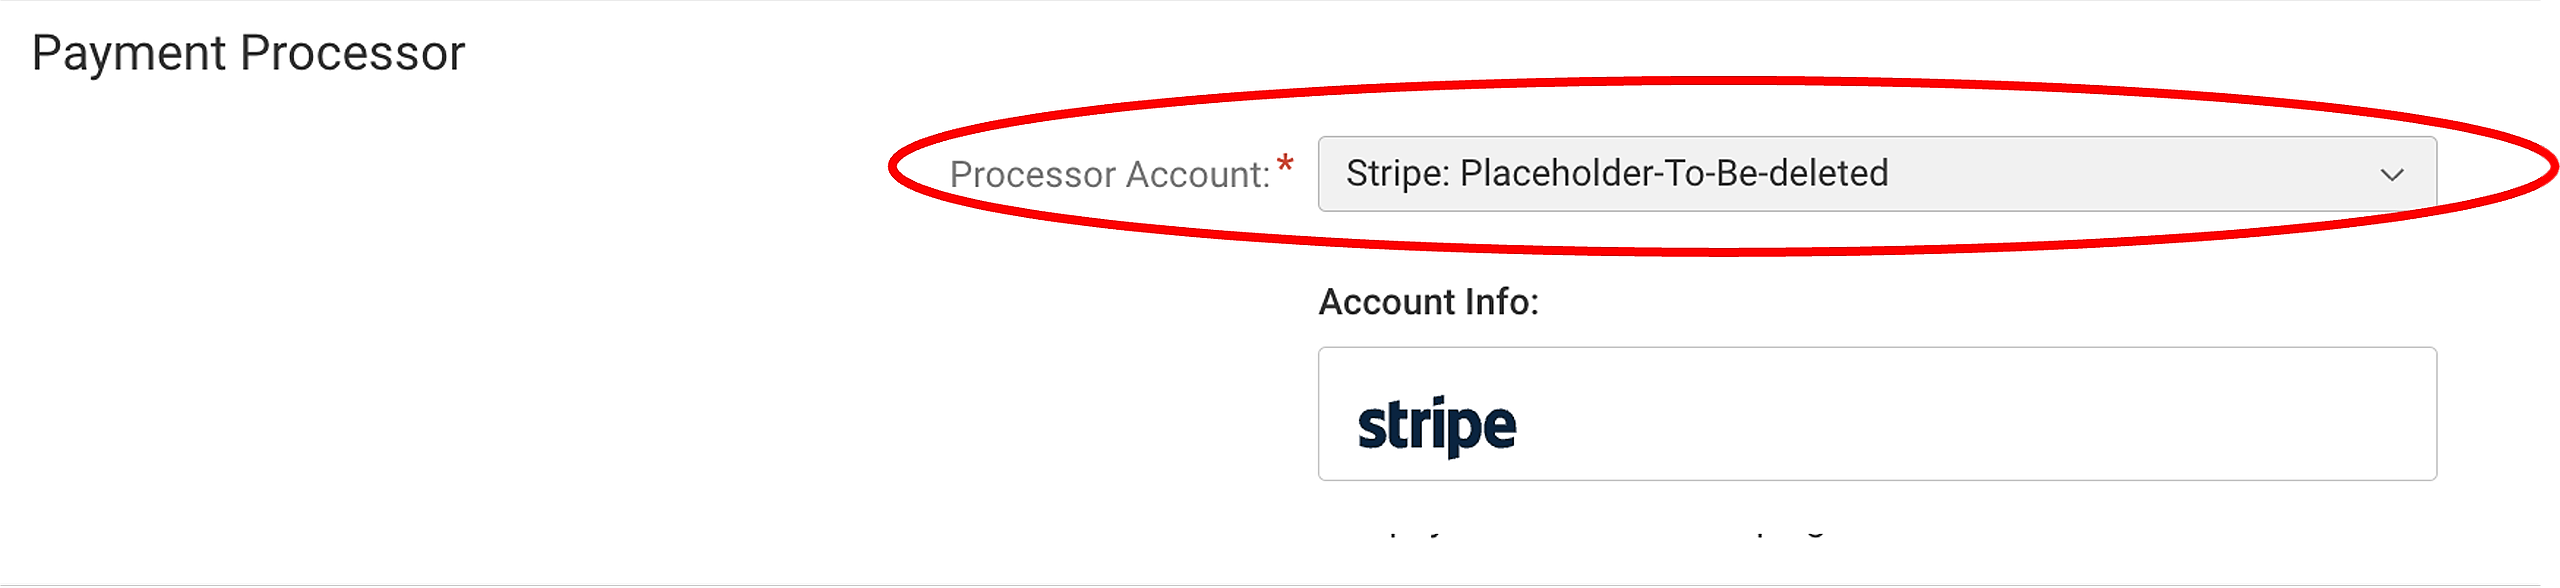
Once verifying that your account is good-to-go, you may select the new Stripe account as the payment processor in Event Setup > Event Details.
That's it! If you have additional questions, please see our list of frequently asked questions about Stripe, or contact Support.
Optional: Add Additional Stripe Users
Additional users can be invited to your account from Stripe.com after you have created your Stripe account. This Stripe Knowledge Base article has more information about inviting team members.
Log into Stripe.com
Click Business Settings > Team
Select + New Member from the top right.