Note: Buttons in Peer-to-Peer events have preset options and can be edited in Event Setup > Peer-to-Peer Preferences.
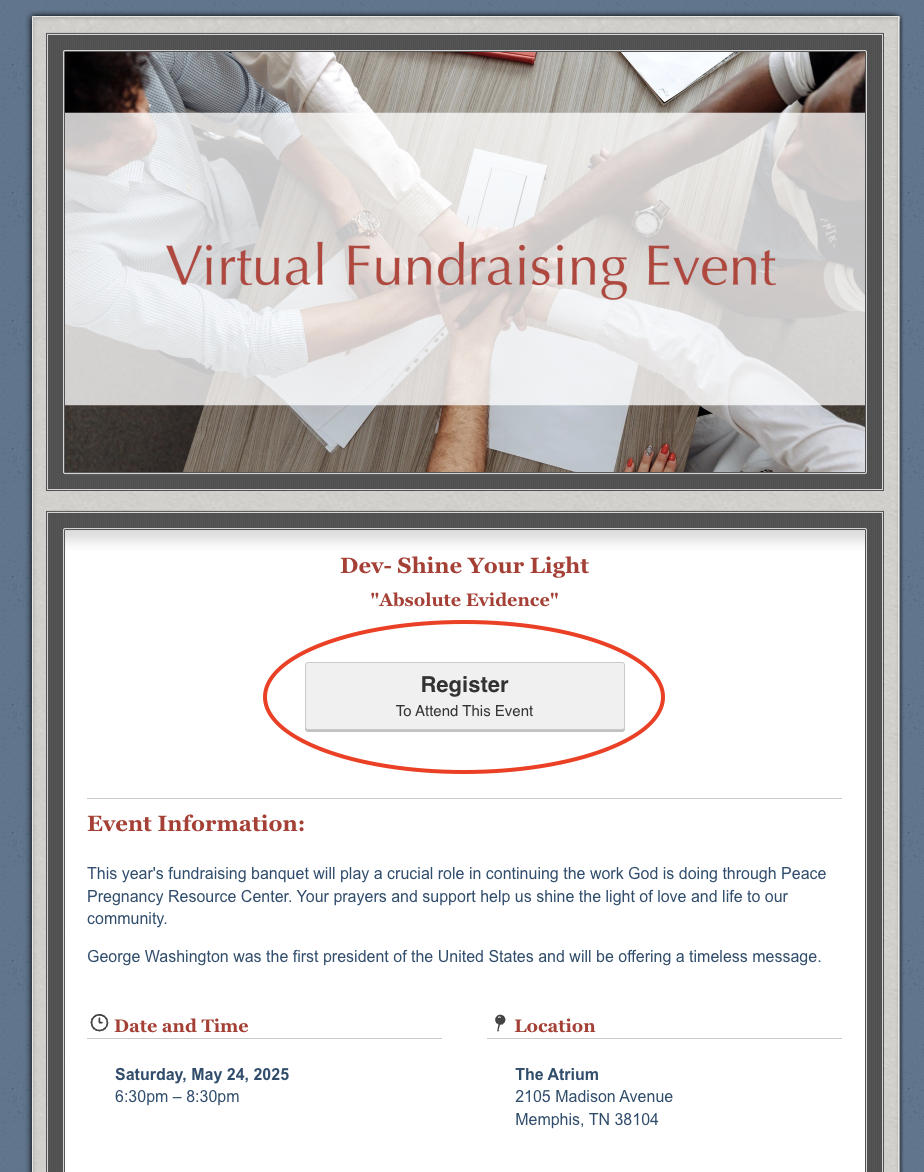
The Attendance Event Web Page includes a register button that directs people to the Registration Form. The default wording on this button is appropriate for most events. However, you can replace the Register button on the Attendance Event Web Page if you'd like different wording on the button, and you can add other buttons to the page.
If you're familiar with HTML, please skip to the bottom of the article for an advanced method of editing or adding buttons.
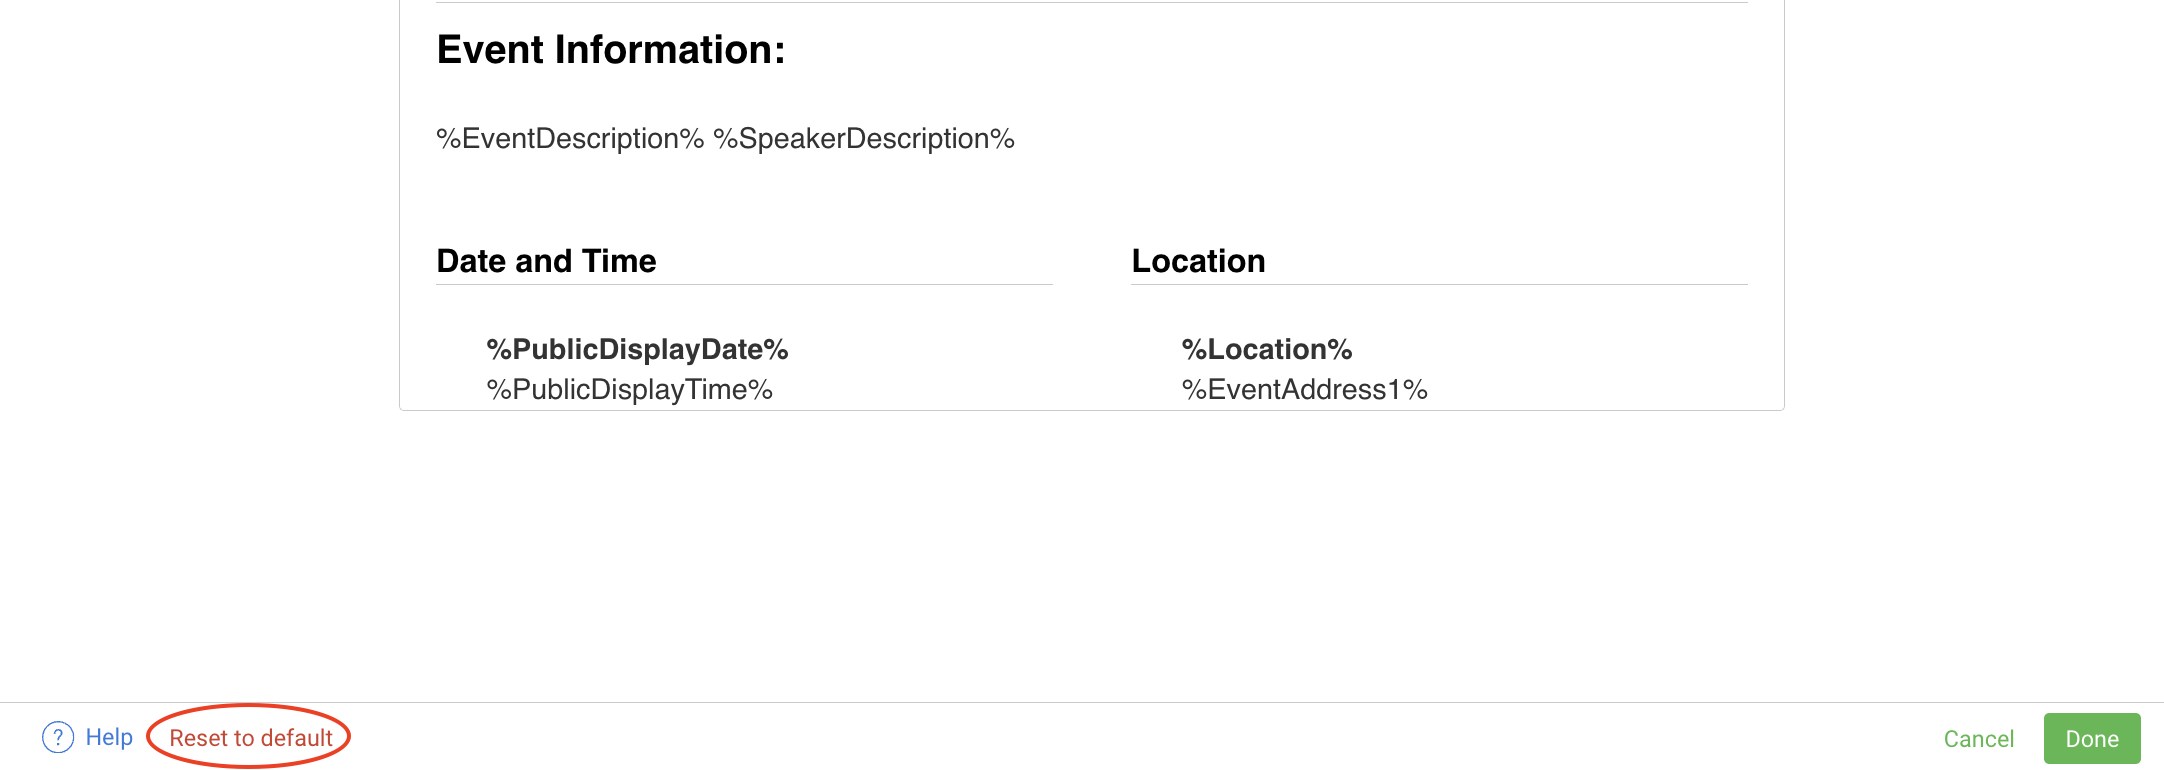
P.S. If you try to make changes and don't like how it turned out - don't worry! There's a Reset to Default option at the bottom of every template (circled below) that will set it back to its default settings.
Let's get started with replacing your button in three easy steps!
#1 - Select your new button image or create your own!
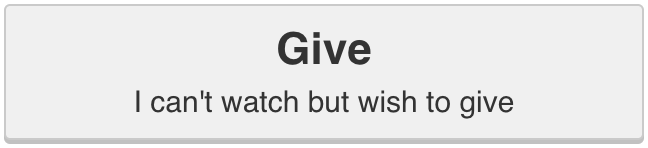
Below are several frequently requested button images that you can use that are the same style as the default buttons. Right click on an image and click Save Image As to save it as a file on your computer.


If you don't see something that meets your needs, you can create a custom button that matches your own brand/theme using a free image editing software like Canva.
Once you have the image you'd like to use for your replacement button, you're ready to insert it on the template.
#2 - Replace the default button with your replacement image
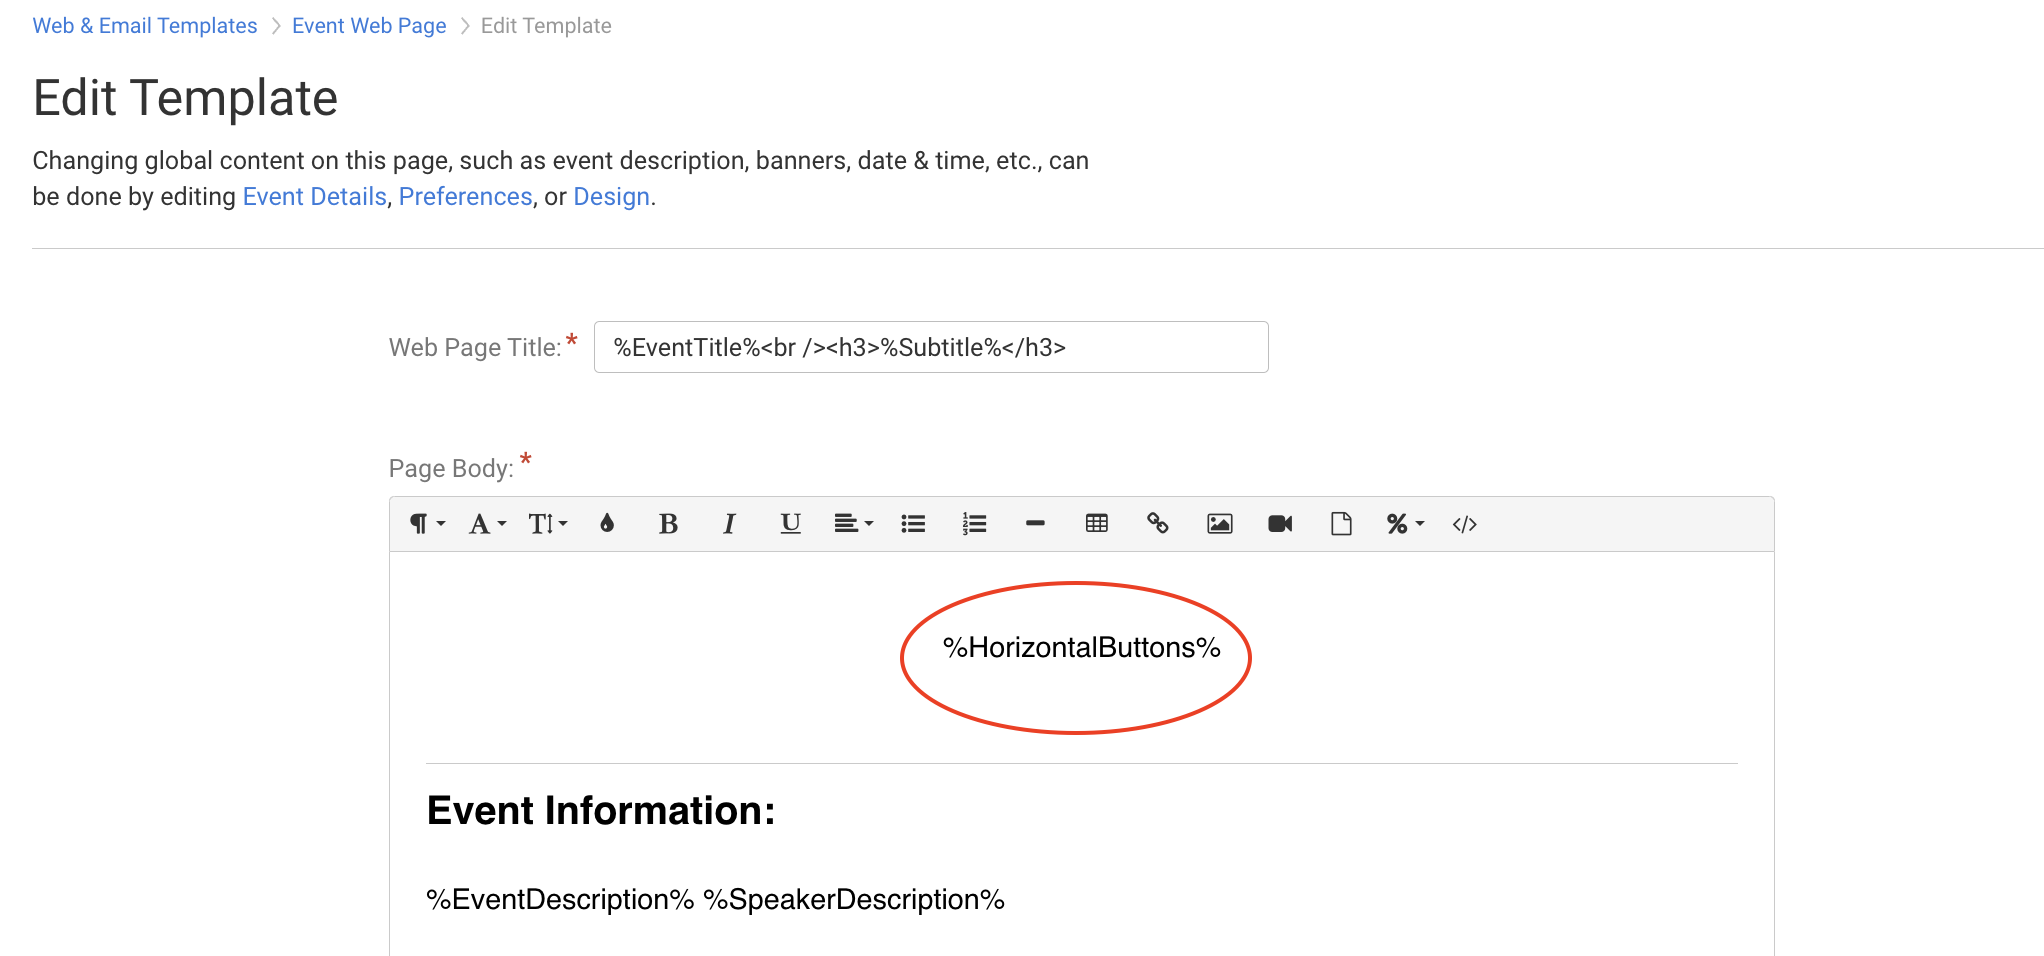
To start, go to Event Setup > Web & Email Templates > Event Web Page and click the Edit Template button in the top right corner.
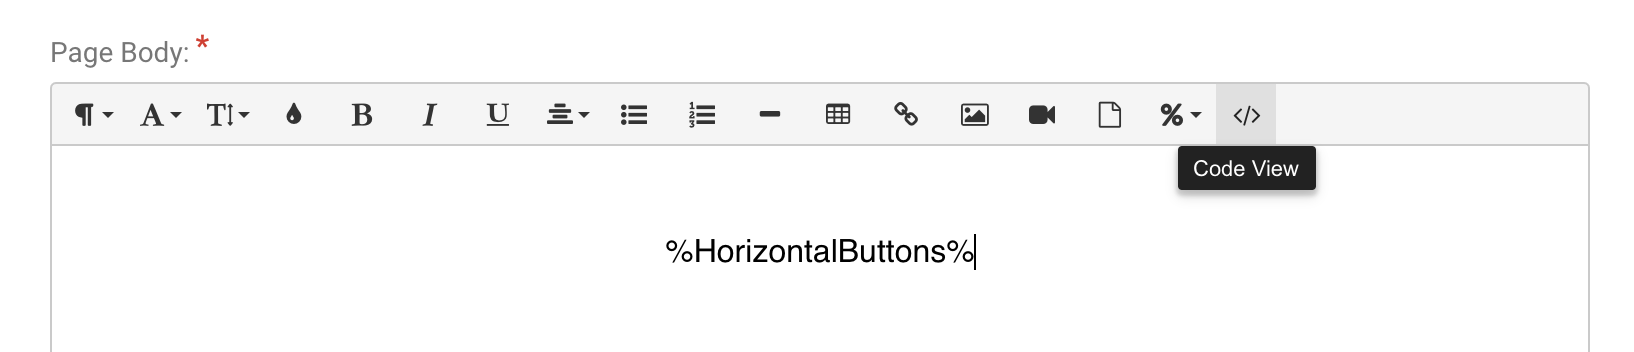
The Register button on the Attendance Event Web Page is created automatically with the %HorizontalButtons% variable as seen below in the Edit mode of the Event Web Page template.To replace the button with a custom button image:
Delete the %HorizontalButtons% variable from the template (including the % symbols).
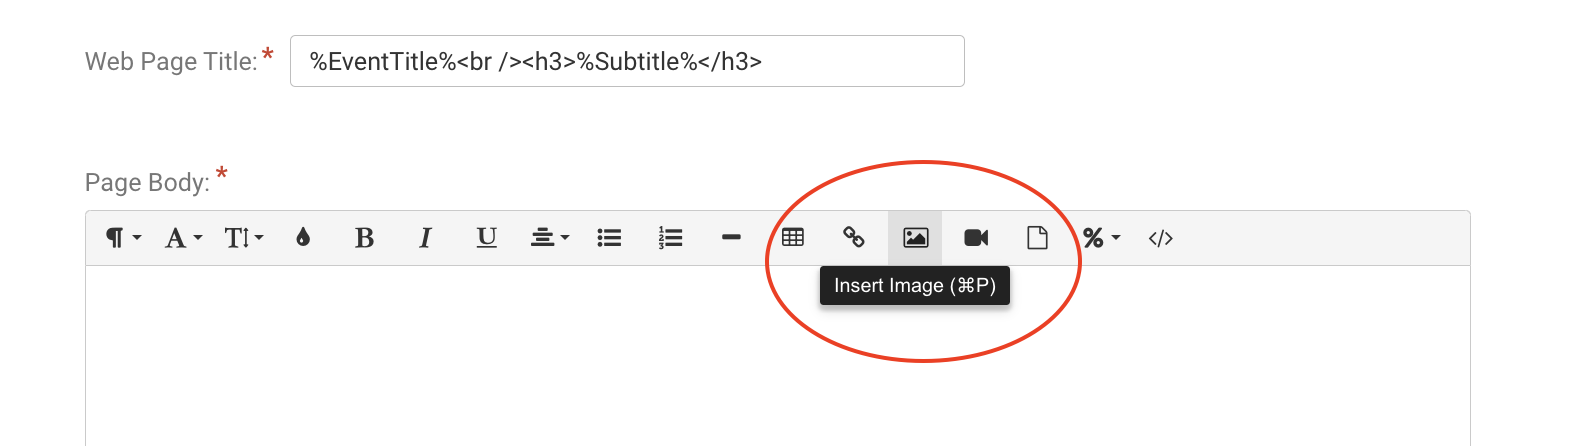
Click the Insert Image button in the toolbar at the top of the text editor and select the file for your replacement button image from your computer.
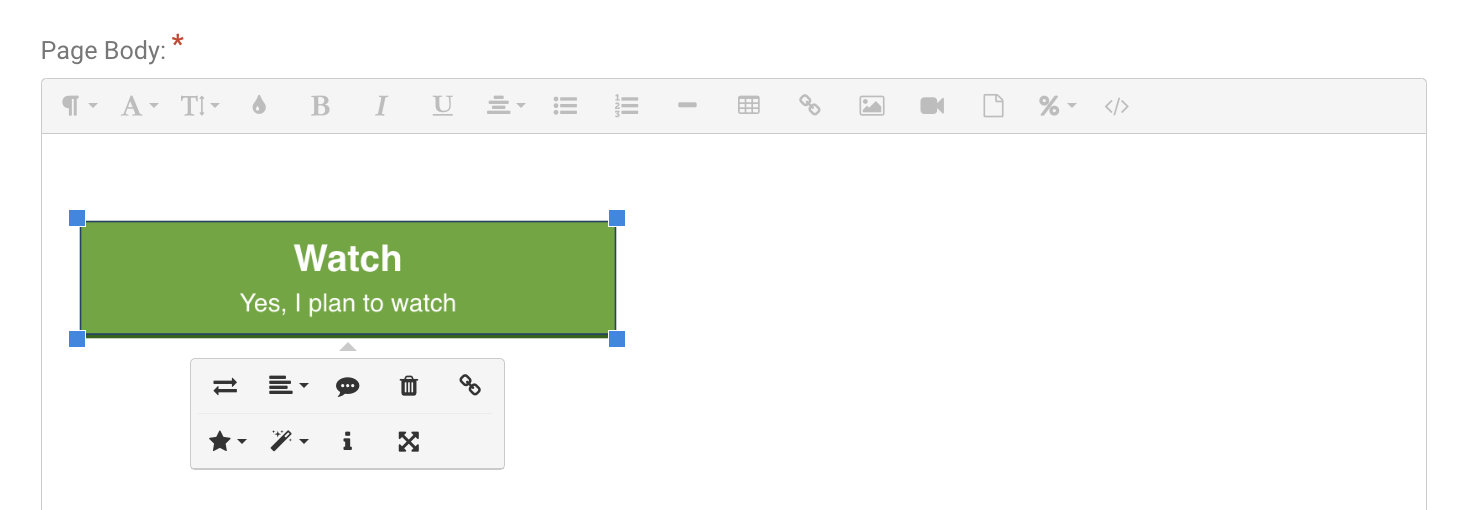
Once your replacement button image has been uploaded, click on the new image to open a menu of image options.
Use the Align icon to center the image on the template.
If necessary, use the Change Size icon, or drag the blue squares at the corners of the image, to resize the image.
Don't miss this next step!
#3 - Link the new button to your event's registration form
Now that the image is formatted the way you want it, you'll need to link the new button to your registration form so when someone clicks on it, it takes them to register just like it would have with the default button. It's simple to do!
Click on the image to open the menu and then click the Insert Link icon.
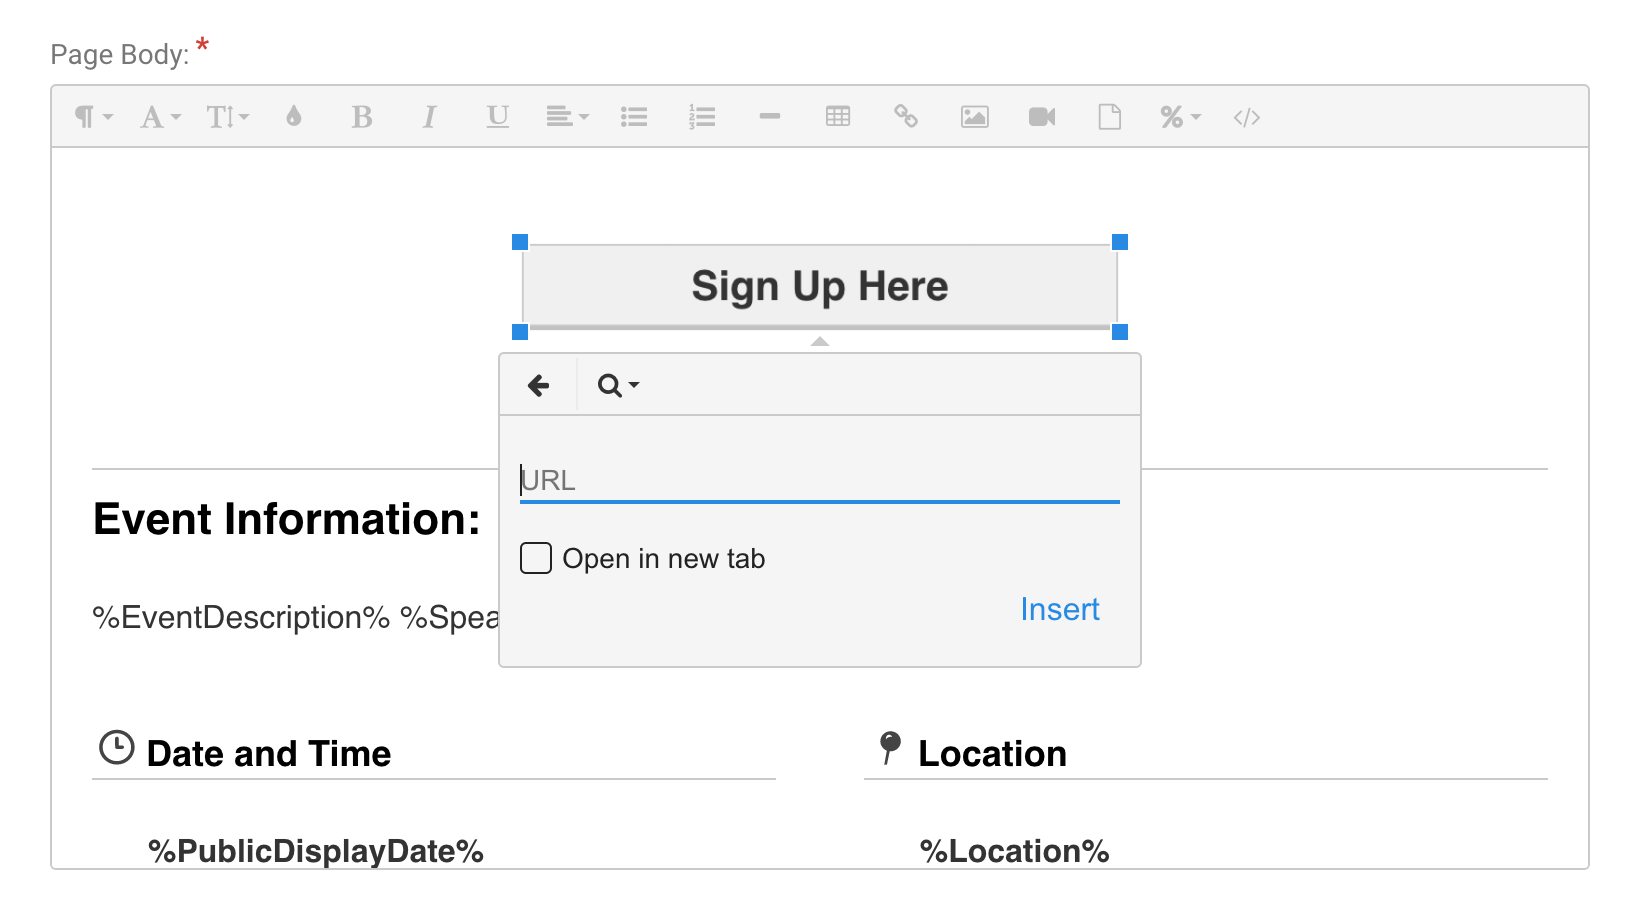

You'll need to start with the default URL for all registration forms (below) and then insert your unique event ID so the button goes to your specific event. Copy the generic URL listed below and paste it in the URL field in your link menu.
https://secure.fundeasy.com/ministrysync/RegistrationManager/PublicRegistration.php?e=xxxxx&NewReference=yesOnce the default URL is pasted, replace the "xxxxx" with the 5-digit ID number of your event, found in the URL bar at the top of your browser.

Click Insert in the link menu.
Click Done at the bottom of the page to save your work on the template.
Don't forget to test it! Click on the new button from the preview mode of the template, or click Promote Event in the lower left hand corner to open a live version of your event web page. When you click on your new button, it should take you to registration form. Remember: your event needs to be in the Open status for people to register. If the event is Closed or Not Yet Open, clicking on the button to register will take someone to the Registration Closed or Registration Not Yet Open template.
If it works when you test it, you're all set! Nice work!
Advanced Method of Editing Default Button Wording using HTML
Instead of inserting an image, here's how to insert and edit the button HTML:
Go to Event Setup > Web & Email Templates and click on the Event Web Page Template.
Click the Edit Template button in the top right corner.
Click the Code View icon in the toolbar at the top of the Page Body field.
If you're replacing the Register button on the Event Web Page:
Replace the %HorizontalButtons% variable and surrounding code (below)
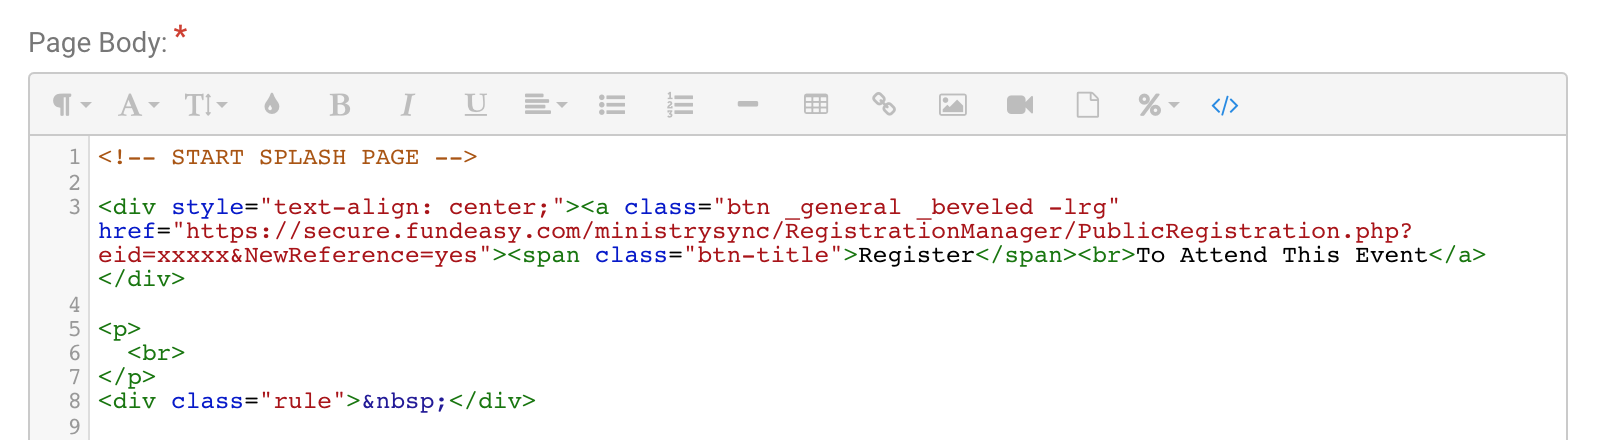
<div class="text-center"> <br>%HorizontalButtons%</div>with this button code:
<div style="text-align: center;"><a class="btn _general _beveled -lrg" href="https://secure.fundeasy.com/ministrysync/RegistrationManager/PublicRegistration.php?eid=xxxxx&NewReference=yes"><span class="btn-title">Register</span><br>To Attend This Event</a></div>The code should then look like this:
Replace the "xxxxx" with the ID number of your event, found in the URL at the top of the page.
If you're adding an additional button to a Template (rather than replacing the Register button):
Add this button code:
<div"><a class="btn _general _beveled -lrg" href="url goes here"><span class="btn-title">Register</span><br>To Attend This Event</a></div">Replace "url goes here" with the URL of the page/website you'd like the button to direct to. Replace "Register" and "To Attend This Event" with wording of your choice.
If you're adding a "decline" button, use this URL
https://secure.fundeasy.com/ministrysync/RegistrationManager/PublicRegistration.php?e=xxxxx&NewReference=yes&invite_response=NReplace the "xxxxx" with the ID number of your event, found in the URL at the top of the page.
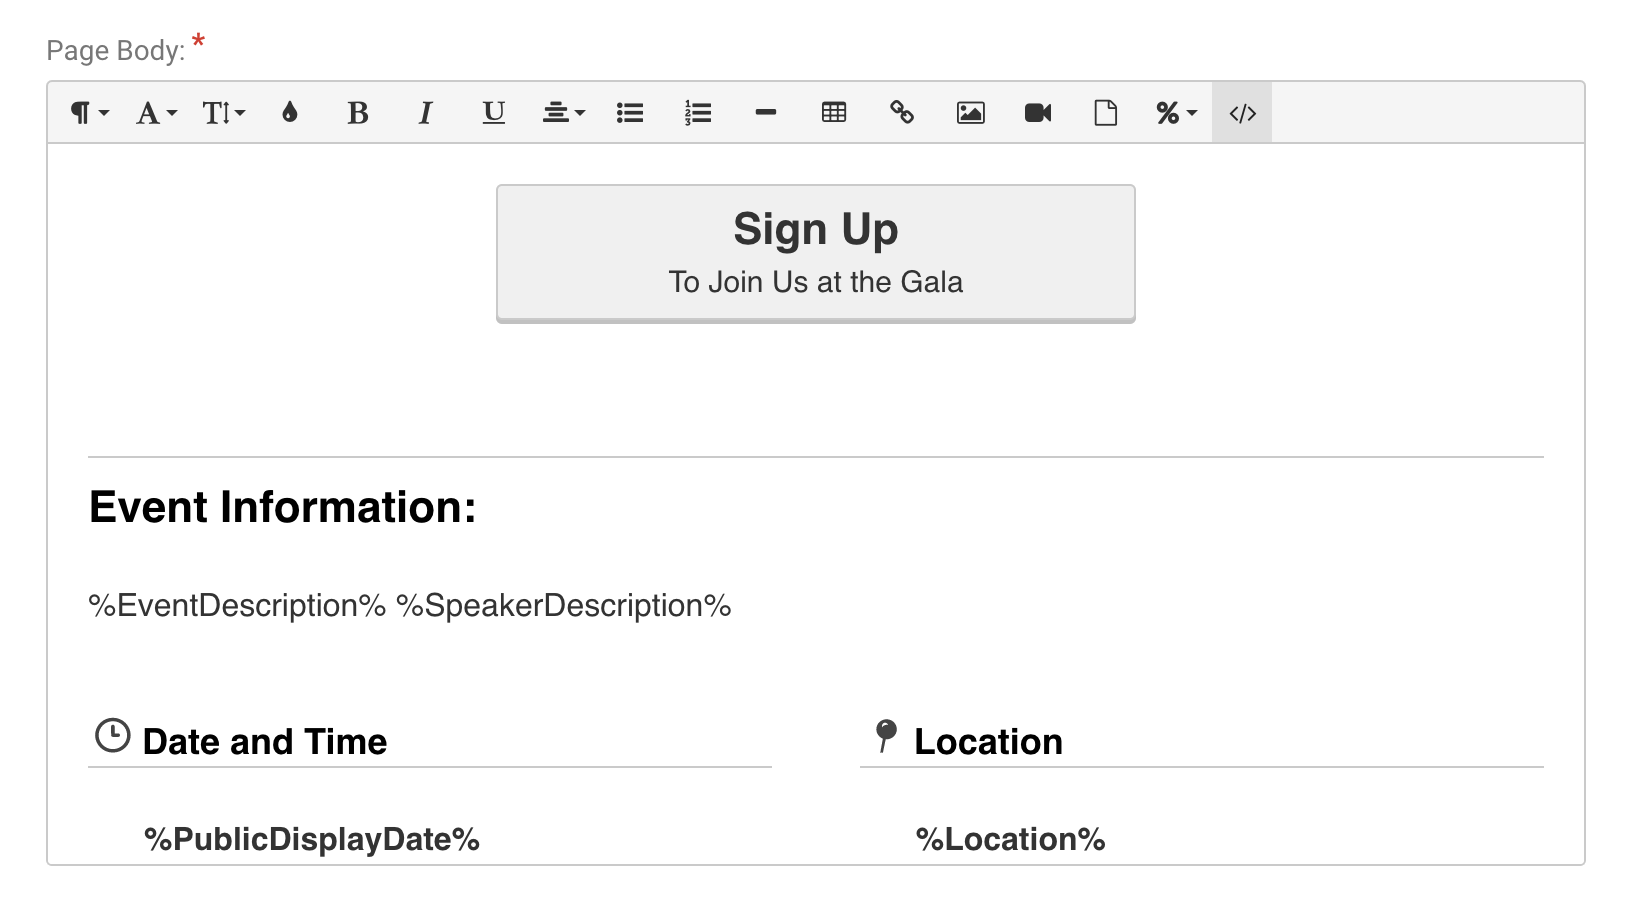
To edit the wording of the button, replace "Register" and "To Attend This Event" with wording of your choice. This will change the wording on the button, which you can see by clicking the Code View icon again.

Click Done at the bottom of the page to save your work.
Don't forget to test it! Click on the new button from the preview mode of the template, or click Promote Event in the lower left hand corner to open a live version of your event web page. When you click on your new button, it should take you to the URL you programmed, whether that's the registration form or another website. Remember: your event needs to be in the Open status for people to register. If the event is Closed or Not Yet Open, clicking on the button to register will take someone to the Registration Closed or Registration Not Yet Open template.