Some Email Templates, like the Invitation Email, include buttons to allow the user to register, decline an invitation, give, or respond in other ways. The default wording on these buttons is appropriate for most events. However, you can replace the buttons if you'd like different wording on a button or if you'd like to add a button to a template that does not include one. We've added some frequently requested button images below as well as instructions for inserting them.
Replacing Button Images
Here's how to replace a button image, such as the Attend and Decline buttons in the Attendance Invitation Email or the Go to My Page button in the Peer-to-Peer Confirmation Email:
Go to Event Setup > Web & Email Templates and click on the Template you'd like to edit.
Click the Edit Template button in the top right corner.
Click the button image you'd like to replace. In the small toolbar that appears, click the Replace icon.
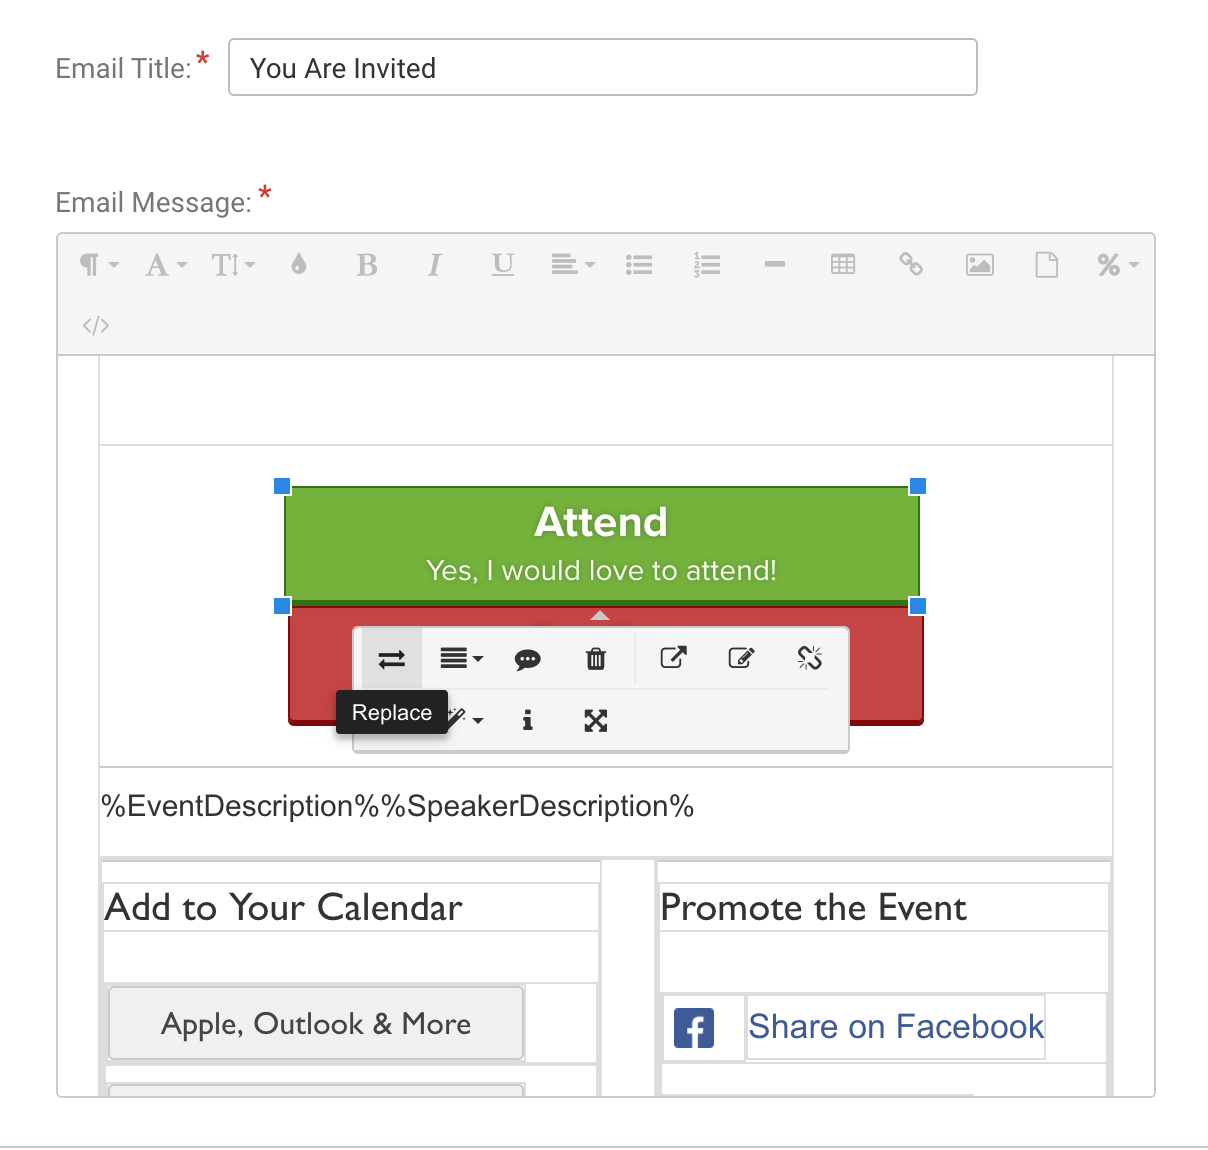
Drag-and-drop an image into the box that says "Drop image." Or click that box to choose an image from your computer.
Click Save at the bottom of the page.
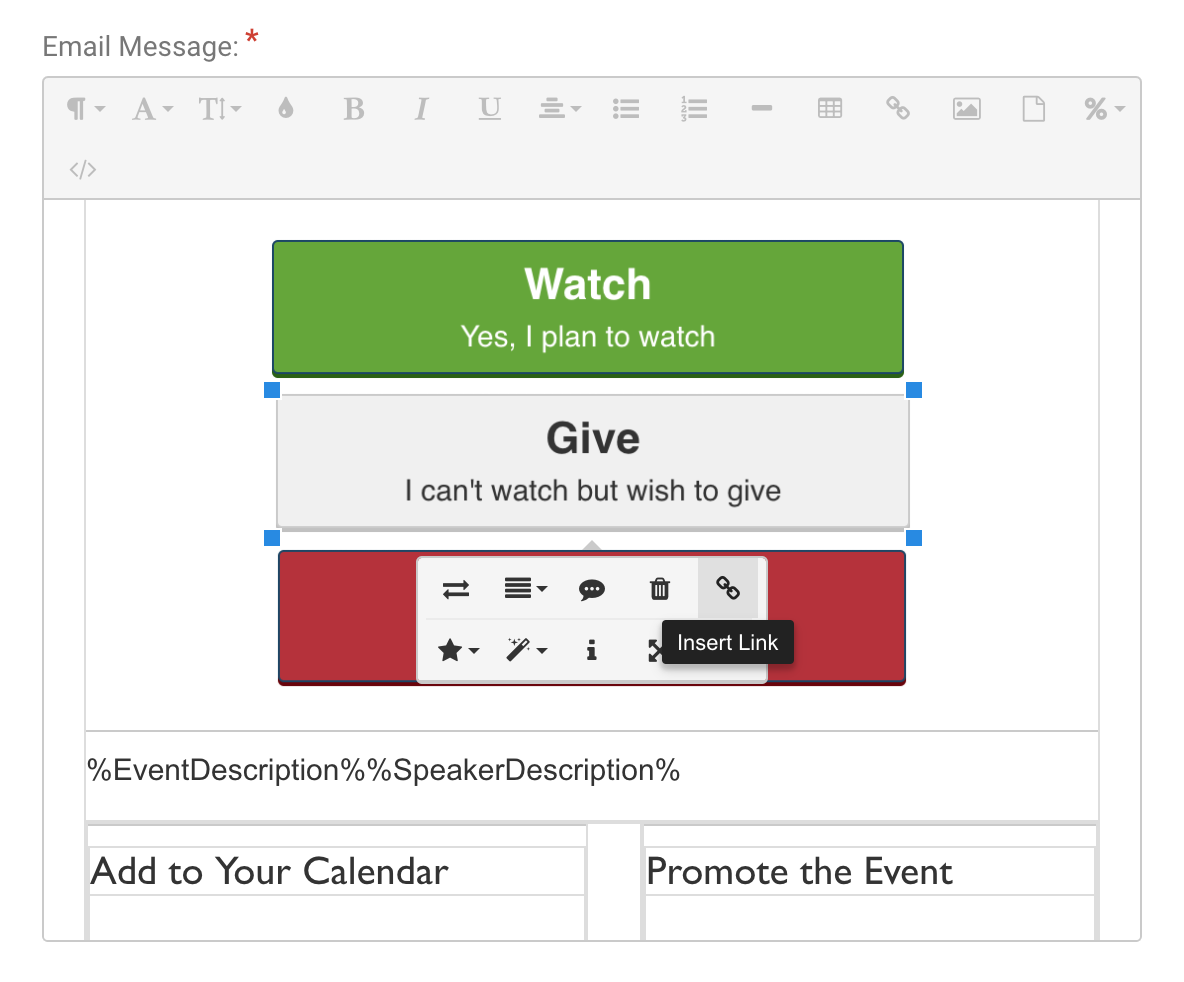
The default buttons in Attendance and Peer-to-Peer Email Templates use variables to link the button image to the appropriate URL. If the link used for a button image get messed up while you're replacing the image, you can click on the image, click the Insert Link icon in the small toolbar that appears, and enter the appropriate variable listed below:
Attendance Invitation Email:
Attend button: %InviteAcceptLink%
Decline button: %InviteDeclineLink%
Attendance Host Instructions Email:
Manage My Guest List button: %HostManagerAccessLink%
Peer-to-Peer Invitation Email:
Create My Page button: %InviteAcceptLink%
Peer-to-Peer Confirmation Email:
Go to My Page button: %MemberWebsiteLink%
Replacing the Give Button in Attendance Invitation Email
Adding your giving site's URL to the Giving Website field (in Event Setup > Event Details > Promotional Info) will automatically display a Give Button in the Invitation Email. Here's how to replace the Give button:
Go to Event Setup > Event Details and scroll down to the Promotional Info section.
Remove the giving URL from the Giving Website field. (This is what creates the automatic Give button on the Invitation Email. We need to remove this in order to manually insert a customized Give button instead.)
Click Save at the bottom of the page.
Go to Event Setup > Web & Email Templates > Registration Invitation Email.
Click the Edit Template button in the top right corner.
Click the the right of the Attend button and press enter/return on your keyboard to put a paragraph break between the Attend and Decline buttons.
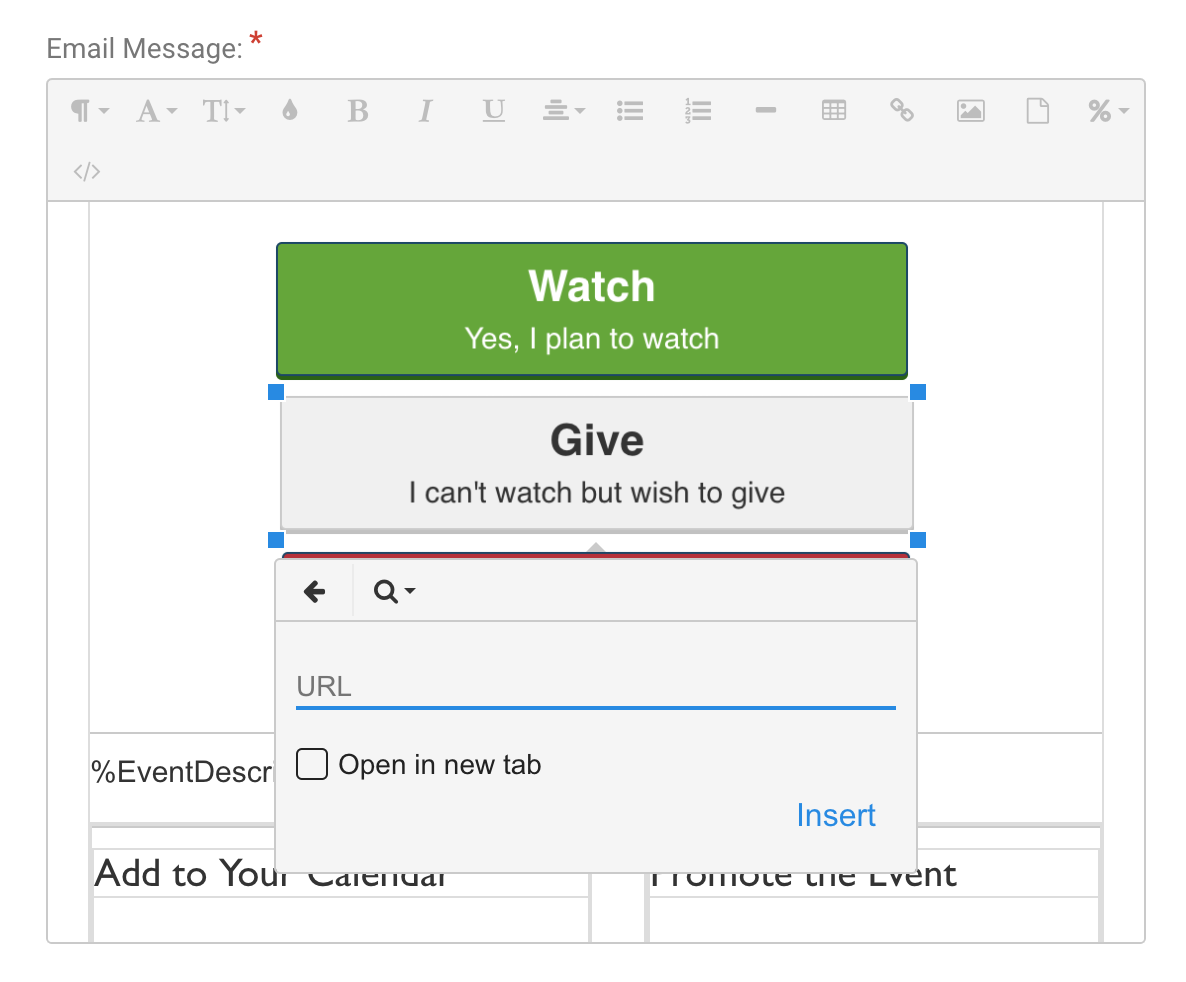
Click the Insert Image button in the toolbar at the top of the Email Message field and drag-and-drop a Give button image into the box that says "Drop image." Or click that box to choose the image from your computer.
Click on the Give button image and use the Align icon in the small toolbar that appears below the image to center the image. Use the Change Size icon in the toolbar or drag the blue squares at the corners of the image to resize the image, if necessary.
With the image selected, click the Insert Link icon in the small toolbar below the image and enter your organization's giving site URL. Click Insert.
Click Done at the bottom of the page.
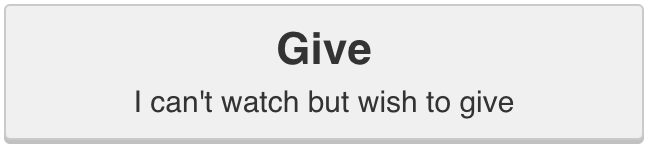
Button Images
Below are several button images you can use. If you don't see something that meets your needs, you can always create your own button image to use.