We use Avery label templates for Name Tags. If you are using another brand, please make sure they are compatible with Avery labels.
If your labels start off ok, but they start running off the page, make sure page handling/scaling is set to 100%, Print Actual Size, or Scaling None. Don’t use Print to Fit.
Attendance:
Click the Name Tags icon in the Event Tools navigation menu on the left.

Click the Select a label dropdown to choose your label number. Note: We no longer add labels other than Avery Labels. If the Avery label number that you need is not listed, click the Don't see your label? link, and fill out the form to request your label number. We will add your item to the list of available choices within 24 hours.
Click on one of the available templates to use for your labels.
Click Create Labels. If nothing happens when you click Create Labels, please make sure your pop-up blocker is disabled.
Once the labels are generated, a .pdf file containing all of your labels will appear in a popup modal. In most browsers, you can mouse over the .pdf to find the tools to save or print your labels. Note: You can print directly from the label window, however, we recommend that you save the file to your computer before attempting to print your Name Tags. For best results, we recommend using Adobe Reader.
Print this file, making sure page handling/scaling is set to 100%, Print Actual Size, or Scaling None. Don’t use Print to Fit.
If you need to print name tags for specific people or last minute changes, please use the What Would You Like to Do pulldown on the Group Manager (old) page.
Go the Group Manager (old) page in the left tool bar.
Select Create Labels in the What would you like to do? dropdown at the bottom of the page.
If necessary select the Avery label that you are using. If you have already created your name tags, FundEasy will use that label.
Select the Starting Label on your sheet of labels. This is handy if you are starting with a label sheet that isn't full.
Select one or more registrants in the Registration Details screen.
Click Go.

Peer-to-Peer:
Here's a quick video on how to print name tags and labels from the Column Browser.
Name Tags and Labels in Peer-to-Peer Video
(Read video transcript here.)
Name Tags in Peer-to-Peer are much the same as in Attendance, but you start in the Column Browser.
To make Name Tags for participants, change the Show Sponsors Below pulldown to Show Participants Below.
Check the box next to Participant Name to select all participants, or select the people you are making Name Tags for on the bottom part of the Column Browser.
Click Create Name Tags or Address Labels in the Action Pulldown in the Column Browser.
Click Choose Label.
Click on one of the available templates to use for your labels.
Click Use Selected. If nothing happens when you click Use Selected, please make sure your pop-up blocker is disabled.
You will be redirected to the Column Browser, where you can select your starting label. This is handy if you are starting with a label sheet that isn't full.
Click Go.
A .pdf file containing all of your labels will be created. This file may open in a new tab in your browser or automatically download to your computer, depending on your browser settings. Note: You can print directly from the label window, however, we recommend that you save the file to your computer before attempting to print your Name Tags. For best results, we recommend using Adobe Reader.
Print this file, making sure page handling/scaling is set to 100%, Print Actual Size, or Scaling None. Don’t use Print to Fit.
Create Blank Name Tags
Select your Avery label and your customized label template
Click Customize Selected Label.
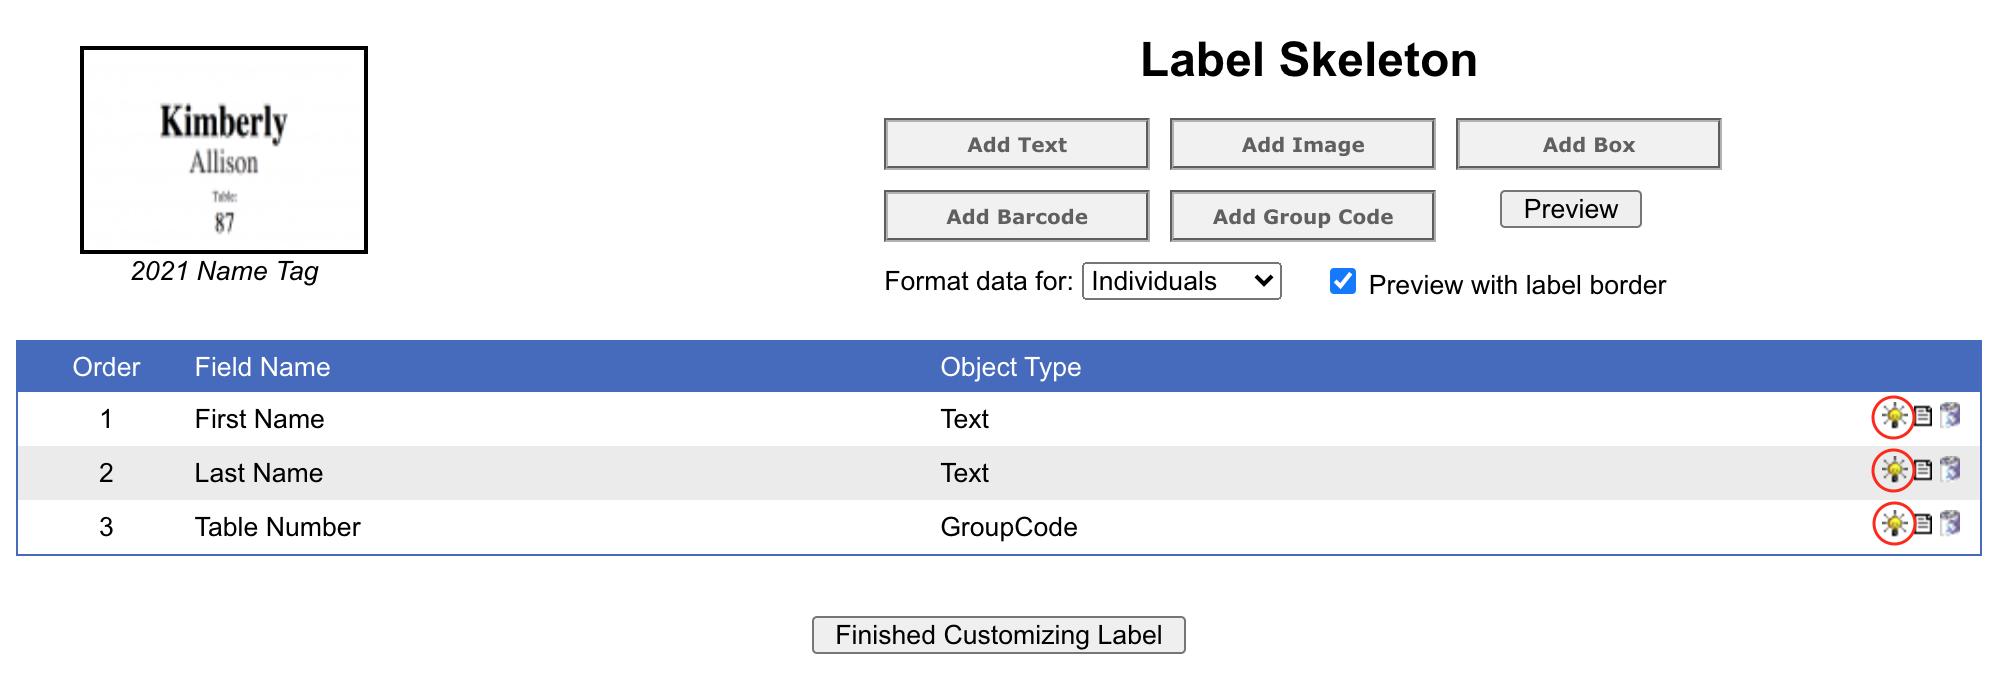
Hide all the fields that print information on the label (ie: First Name, Last Name, Table Number, etc.) by clicking the Show/Hide this Object icon.
Once you've updated the template, then print a Preview batch for 2 pages of blank name tags.