In Pay-to-Attend events we show payment icons to the right of registrants' names. Click any of these icons to open the Transaction Log.
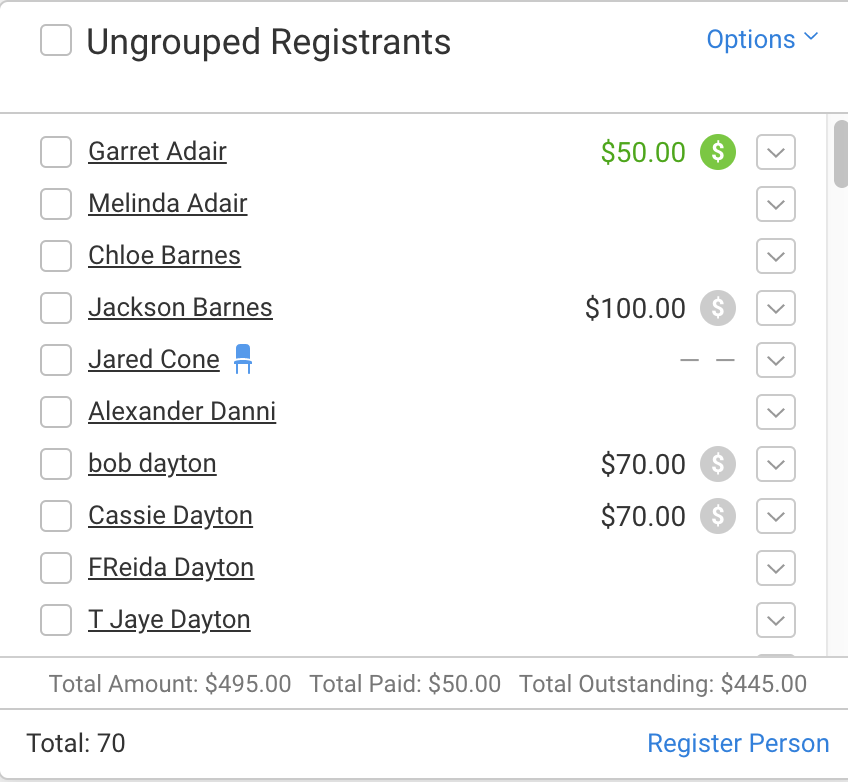
Green dollar amount and dollar sign indicate that the invoice has been paid
Grey dollar amount and dollar sign indicate that the invoice has a balance due
Grey horizontal lines indicate that there is no invoice. This would be the case for a guest of a host or when an admin skipped payment during registration.
No icon or horizontal lines indicates the person is on the same invoice as someone who paid for them. This is how people appear who registered and paid at the same time and who share the same invoice.
The total amount for that group, along with the total paid, and the total outstanding are listed on the bottom of each group.
Note, if you're recording Peer-to-Peer sponsor payments, please use the Column Browser.
Recording Payments
Find the person in the Attending list or in their Group.
Click the payment icon to the right of their name.
Or click the chevron [ v ] button to the right of the payment icon then click View Transaction log.
Click the Pay button.
Choose the Payment Method*.
Record the payment details. If you're recording an online payment, make sure that you're using actual names and contact information (including email address) or your payment may be returned as fraud by the payments processor.
Hitting "Process" will return you to Manage Registrants. You may need to refresh your screen to see that the payment has been paid.
*For payments through another site, like your donation page on your website, record this as a cash donation and add a note that it was paid through a different website. You cannot list the transaction as credit card if it was not paid through FundEasy's processor.
Note: if the payment is for more than the original amount reported, record the original payment, save your changes, and then click Add New Transaction to add a transaction and record payment for the additional amount. Read more about adding transactions
Refunding Payments
Refunding payments requires two steps - one in Stripe and one in FundEasy. Returning the money needs to be done from within your Stripe account. After initiating the refund in Stripe, you will need to mark the payment as Refunded in FundEasy from the person's transaction log. Editing that status in the transaction log marks it refunded for internal FundEasy reports. The refund does not go to the customer until it is completed in Stripe. Once you have refunded the payment in Stripe using these instructions, use the following steps to mark it as Refunded in FundEasy:
Find the person in the Attending list or in their Group in Manage Registrants.
Click the payment icon to the right of their name.
Or click the chevron [ V ] button to the right of the person's name, then click View Transaction log.
Click Refund to refund a payment.
Check or Cash payments automatically use the Process Manually option. Online transactions can be processed manually or can go through the processor.
Clicking the trash can icon deletes the record of the transaction. It does not refund it.
Refunds usually take 5-10 business days. There is no additional fee for refunds, however to return the total amount to the payer, Stripe will deduct both the deposited amount and the processing fees from the organization's account.
Adding a Transaction
Find the person in the Attending list or in their Group in Manage Registrants.
Click the payment icon to the right of their name.
Or click the chevron [ V ] button to the right of the person's name, then click View Transaction log.
Click the "Add New Transaction" link at the bottom left side of the window.
Enter in the date (today's date will be automatically filled in; select a different date from the calendar if you wish), a description for the transaction, and an amount.
Click Go.
The transaction you just created will be added to the Transactions list. Notice that it is Pending.
If the registrant is paying by now credit card, click Pay and click Credit Card. Enter all of the credit card information into the new window that opens.
If the registrant is paying by check, you will not need to click Pay until you have received his check in hand. You can return to this screen at a later time, click Pay, and click Cash or Check. Enter the appropriate information.