The Invoices and Receipts tools allow you to print and mail invoices and receipts for each person registered in your Peer-to-Peer Event. Both are automatically sorted based on the payment status in the Column Browser. Before printing invoices or receipts, make sure you have recorded any payments received using the Column Browser.
To Generate Invoices or Receipts
To Edit the Invoice or Receipt Wording
Edit the Invoice or Receipt Description
Mark a transaction as not-tax deductible.
Peer-to-Peer donors who paid online will receive a tax receipt automatically when they make a donation, as long as you have your tax ID in event details. Otherwise, your donors receive a confirmation email. You can resend these email receipts from the Column Browser.
To generate Invoices or Receipts:
Choose Invoices or Receipts in the Event Tools Menu on the left.
Check the boxes next to the people to whom you would like to send an invoice or receipt. To make this easy for you, we have added selection options to check all people or those who have never had an invoice or receipt generated.
Click Generate.
In Invoice settings you can edit the text or compose your own wording in the body of the Invoice.
In Receipt Settings, along with editing text, you can also add your Organization's Federal Tax ID and add or edit your Tax Receipt Legal Statement.
For receipts, you can filter by payment type from the Filter pulldown. This is handy if you choose to only receipt those who paid offline. Note: Check numbers are not listed in Receipts.
After clicking Print, adjust the following in your print settings before printing:
Page scaling should be disabled
Page headers and footers should be disabled
Background colors/images should be enabled
The address fields cannot be moved.
If you'd like to do your own mail merge for receipts and invoices, click the link to Export to CSV. You'll find the link on the Receipts or Invoices page.
Google Chrome has an option to save to PDF instead of printing. If you want to preview your Invoices or Receipts or to save a copy, using Chrome is a great solution. This feature is also helpful if you'd like to email PDF invoices or receipts to people instead of mailing them. Firefox and Safari for Mac also have these options. Browser extensions are available online for Firefox and Internet Explorer on Windows.
Edit the Invoice or Receipt description
To edit the contact information in Receipts and Invoices, please edit the Event Coordinator information in your Event Details.
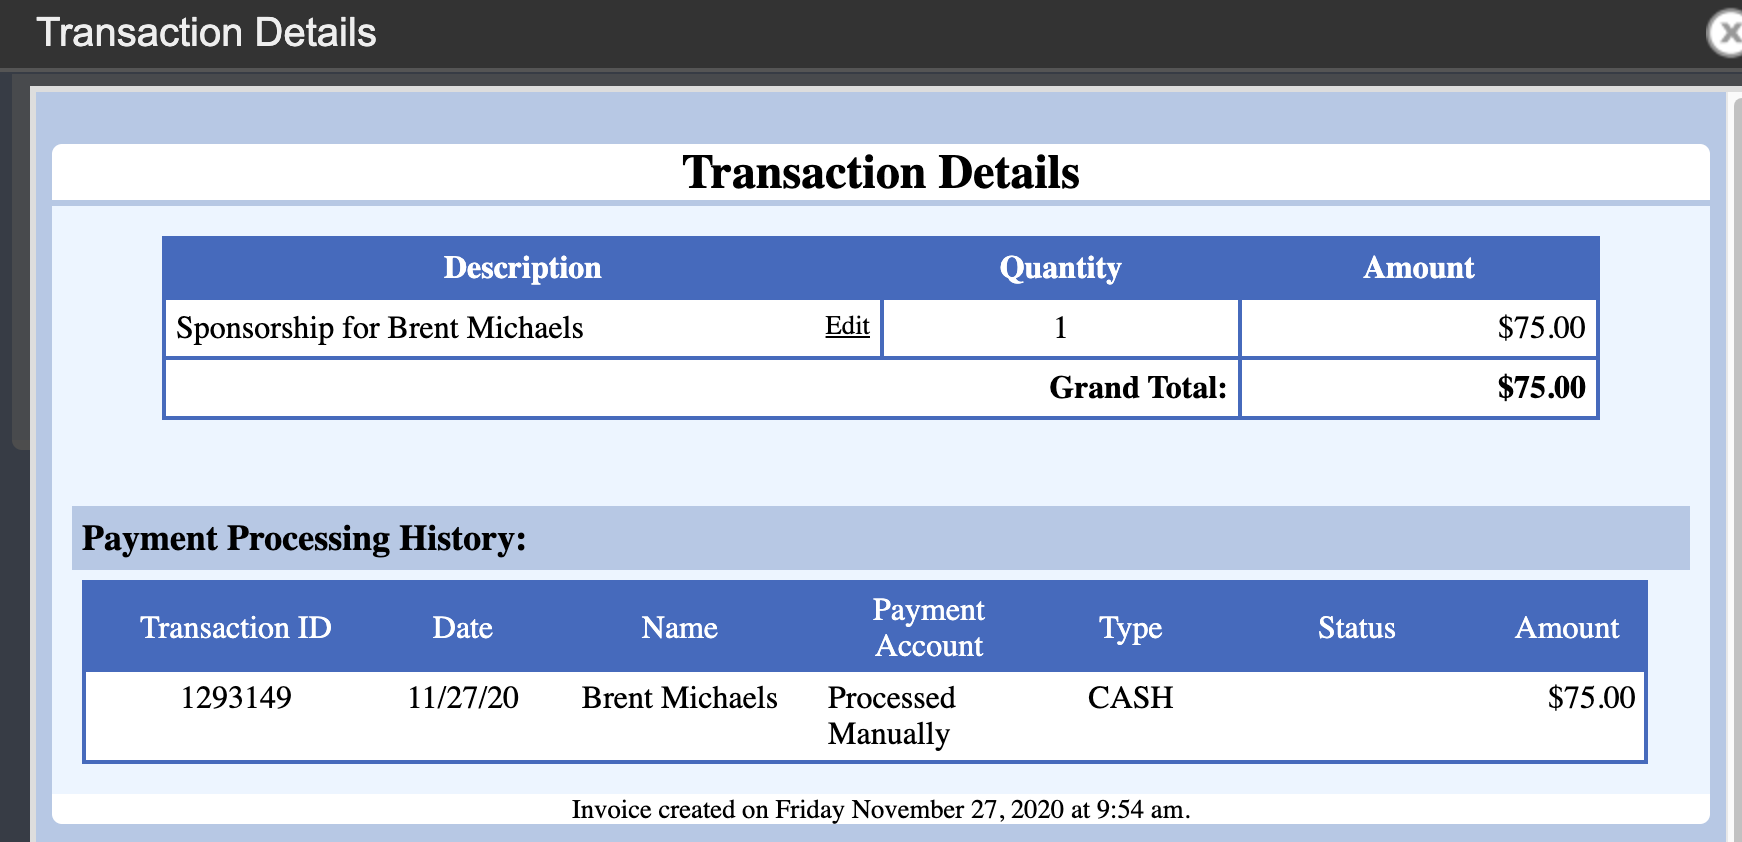
When a transaction is made, the description of that transaction is recorded in the database. This information doesn't change when you edit the person profile or reassign a sponsor. If you find a Receipt or Invoice with an incorrect description, you can edit the transaction description that appears in your Receipts and Invoices from the Profile Transaction screen.
Click the payment icon to open the Profile Transaction.
Click View to see the Transaction Details.
Click Edit to edit the information.
Then click Save.
This will update this information in Profile Transactions and in FundEasy Invoices and Receipts.
The payment method that shows in the Column Browser and the payment type that shows on the donation Receipt can be different. So a donation that is listed as a pledge in the Column Browser will show as paid with the actual payment type on the donation Receipt. You can read more information about payment types here.
Mark a transaction as not tax-deductible
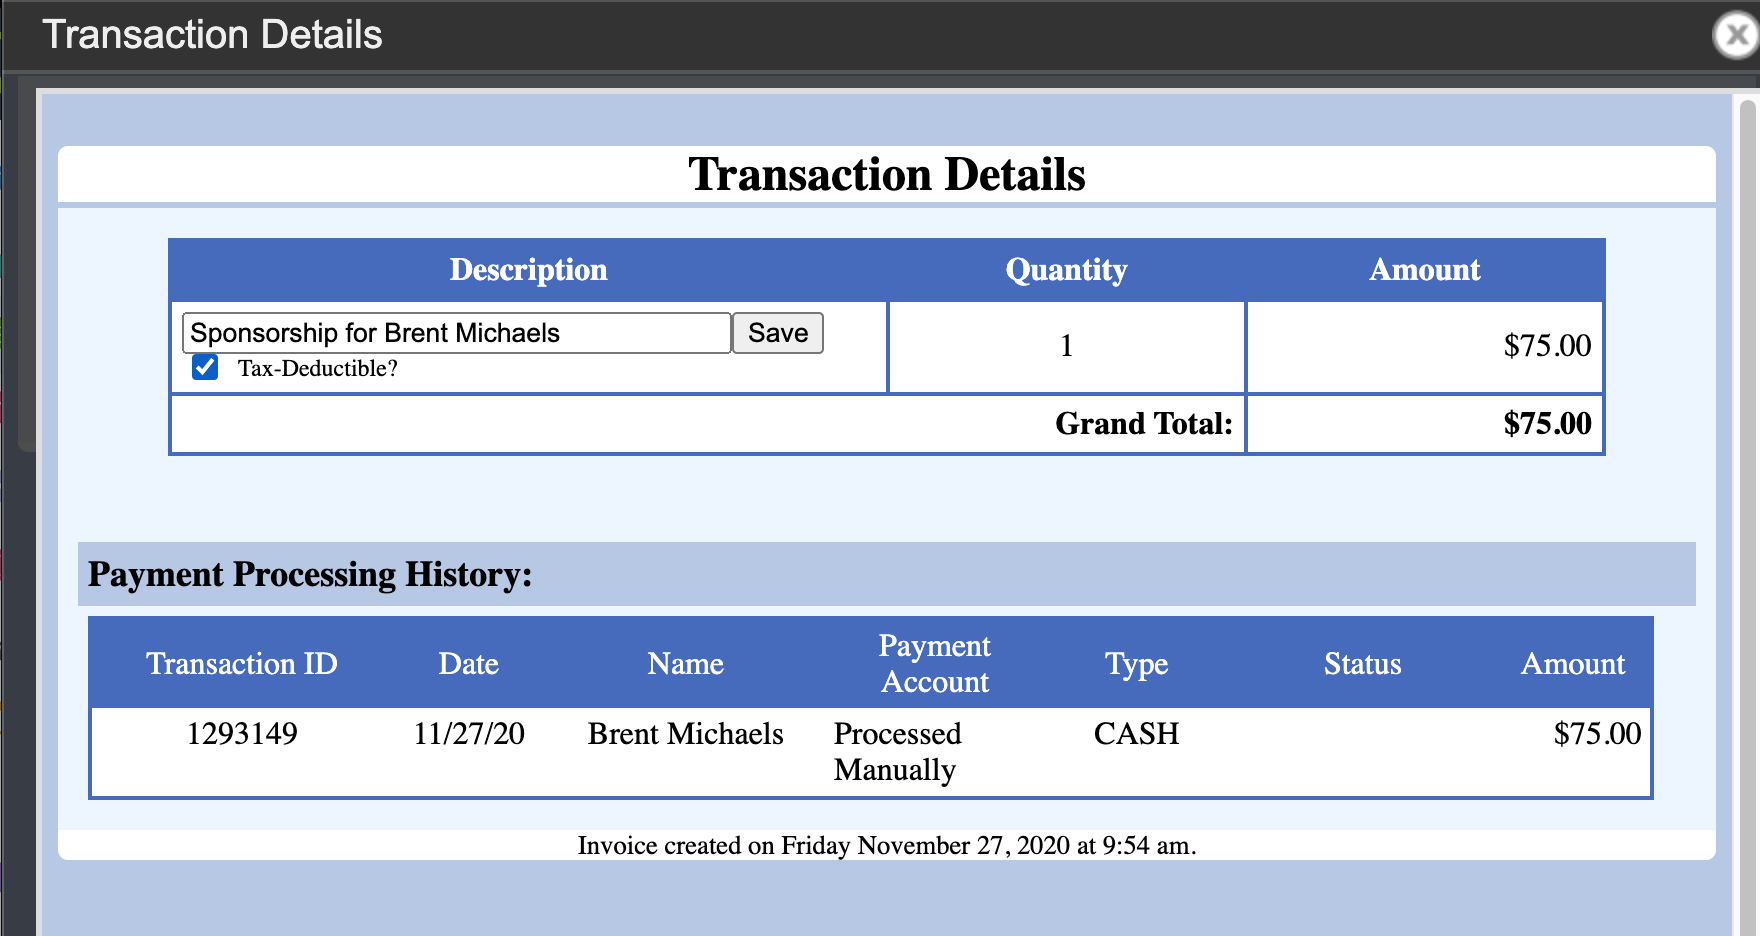
You can specifically mark a transaction as not tax-deductible from the Profile Transaction screen.
Click the Payment Icon to open the Profile Transaction.
Click View to see the Transaction Details.
Click Edit to edit the information.
Check the Tax-Deductible? box.
Click Save.
This will mark the transaction as not tax-deductible on your printed receipts.
Peer-to-Peer Training Video: Receipts and Invoices
(Read video transcript here.)